
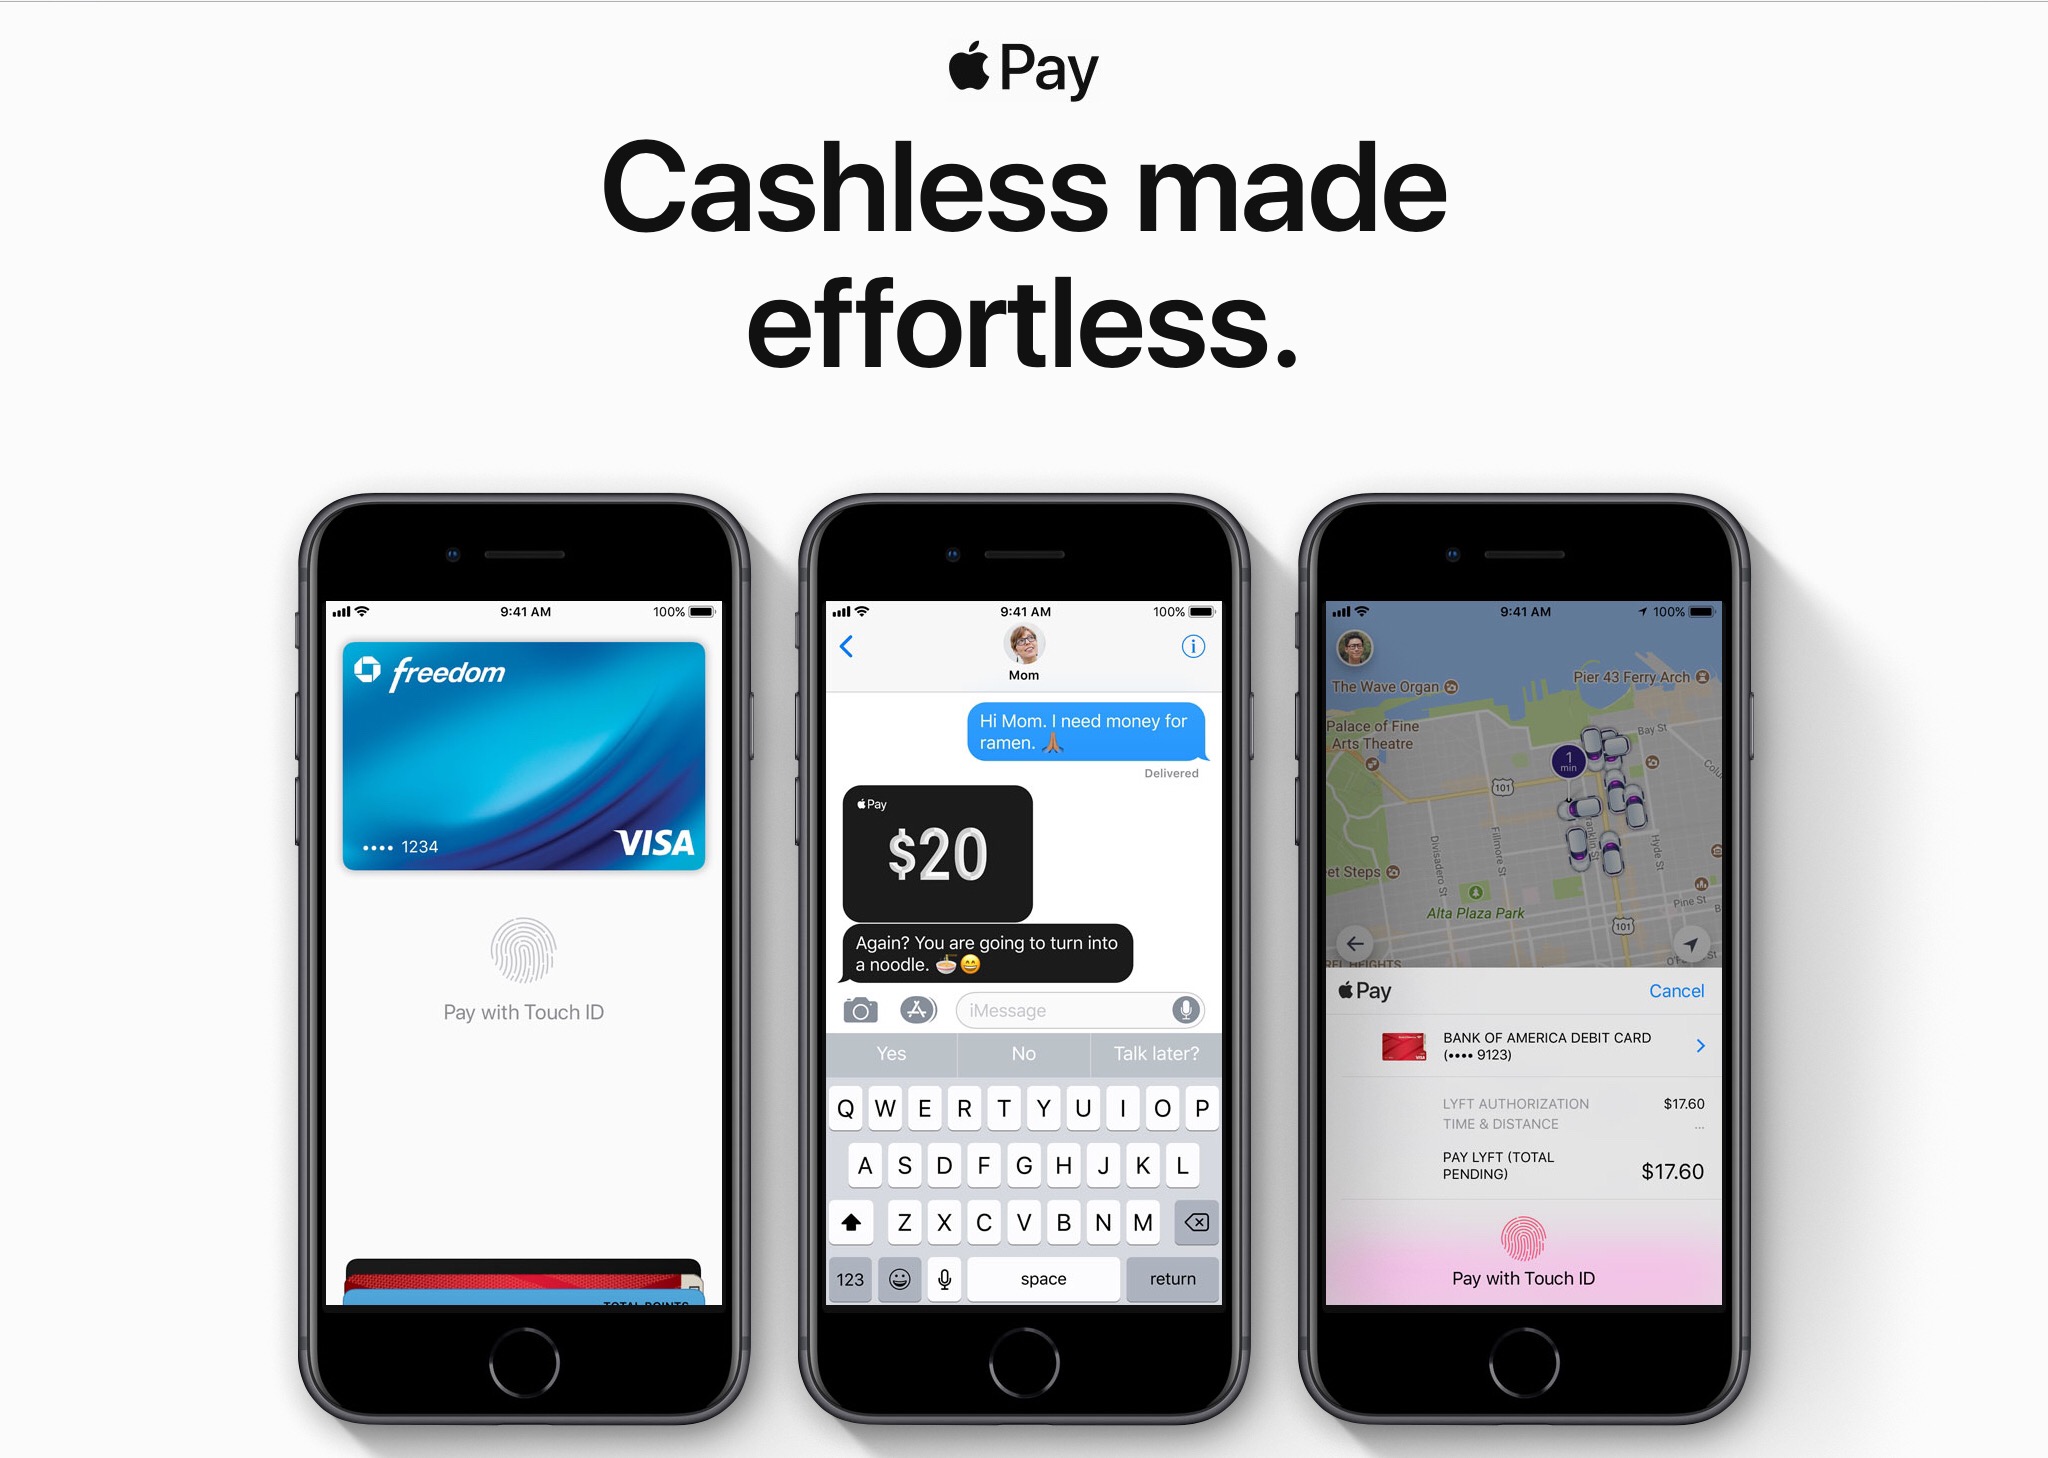
Apple Pay and other mobile payment systems like it are the future of payment and a replacement to the conventional credit card. Apple Pay was released along with the release of the iPhone 6 and 6 Plus. Since then Apple Pay works on your Apple Watch, iPad, and Macs. It was first released to banks in the United States but has now spread to be accepted internationally. Most all of the major U.S. banks credit/debit cards accept Apple Pay and is only supported where mobile payment is accepted.
How Does Apple Pay Work?
When it’s time to pay instead of swiping or inserting tap your phone on the payment terminal. Before you tap you must authenticate the card by using TouchID, FaceID, or type in your password. It’s important to note that a credit card number is not saved on Apple’s servers, locally on your device, or the merchant payment system. Instead, when you tap your phone the near-field communication or NFC (hardware found in your iPhone or Apple Watch) sends an encrypted unique identifier to the payment terminal which is then sent to your financial institution to decrypt and charge your account. By using Apple Pay you save time having all your cards in the same place and more convenient than digging through your wallet to find the right credit card. Apple Pay is also a safer form of payment because instead of tossing credit card numbers around there is a unique code making it less of a chance of getting your credit card number stolen.
Setting Up Apple Pay
Setting up Apple Pay is simple to do but first, you have to get to the setup wizard.
Option 1: Settings (iPhone, iPad)
- Open Settings
- Scroll down and tap on “Wallet and Apple Pay”
- Then tap “Add Credit or Debit Card” in blue text at the top
Option 2: System Preferences (macOS)
- Open System Preferences
- In the third group down click on “Wallet and Apple Pay”
- Then click on “Add Credit or Debit Card”
Option 3: Wallet App (iPhone)
- Open the Wallet app
- Then tap on the plus (+) in the top right corner
Now that you are at the setup wizard hold your card in front of your device, let it scan your card information (a picture of your card is not saved). Once completed you may have to type in some number that your device could not find such as card number, card name, expiration date, or security number. Now your card might be ready for use. Some financial institutions require another form of authentication such as calling to verify your identity. Once setup is completed your card is ready to use.
Using Apple Pay
In-store
You can only pay in-store using your iPhone or Apple Watch. To pay with Apple Pay on your iPhone open Wallet. On your iPhone, this can be done by opening it from the home screen, triple-clicking the home button from the lock screen, or by adding the Wallet shortcut to the control center in iOS 11 and up. Select your card, authenticate using either TouchID or FaceID. Now tap the payment terminal.
In-App or Online
You can purchase anything online or in apps on iPhone, iPad, and macOS. To pay online or in an app with Apple Pay look for one of the following buttons:

Once you tap on the one you will get a “receipt like” pop up. You can tap on your card to show a list of your Apple Pay cards and change your payment method. Once you have selected your card to authenticate using either TouchID or FaceID.
Help!! I lost my iPhone
Have no fear. If you lose whatever device you have set up Apple Pay you can easily remotely deactivate it. To do so, go to iCloud.com and sign in. If you have two-factor authentication enabled you can use the Apple Pay button underneath the code field, from there you can select the devices that you would like to deactivate Apple Pay on, or you can go to Find my iPhone and place your device in lost mode by clicking on Actions. By placing your device in the lost mode it also deactivates your cards associated with Apple Pay.
Helpful Links:
- Apple: Apple Pay
- Apple Support: Supported Banks
- Apple Support: Apple Pay is compatible with these devices
- Apple Support: Apple Pay security and privacy overview
- Apple Support: About limits when using Apple Pay in stores
- Apple Support: Supported Merchants
- Apple Support: Learn where to use Apple Pay
- Apple Support: About Apple Pay
- Apple Support: Set up Apple Pay
- Apple Support: Using Apple Pay in stores, within apps, and on the web
- Apple Support: macOS Sierra: Use Wallet & Apple Pay on your Mac
- Wikipedia: Apple Pay