
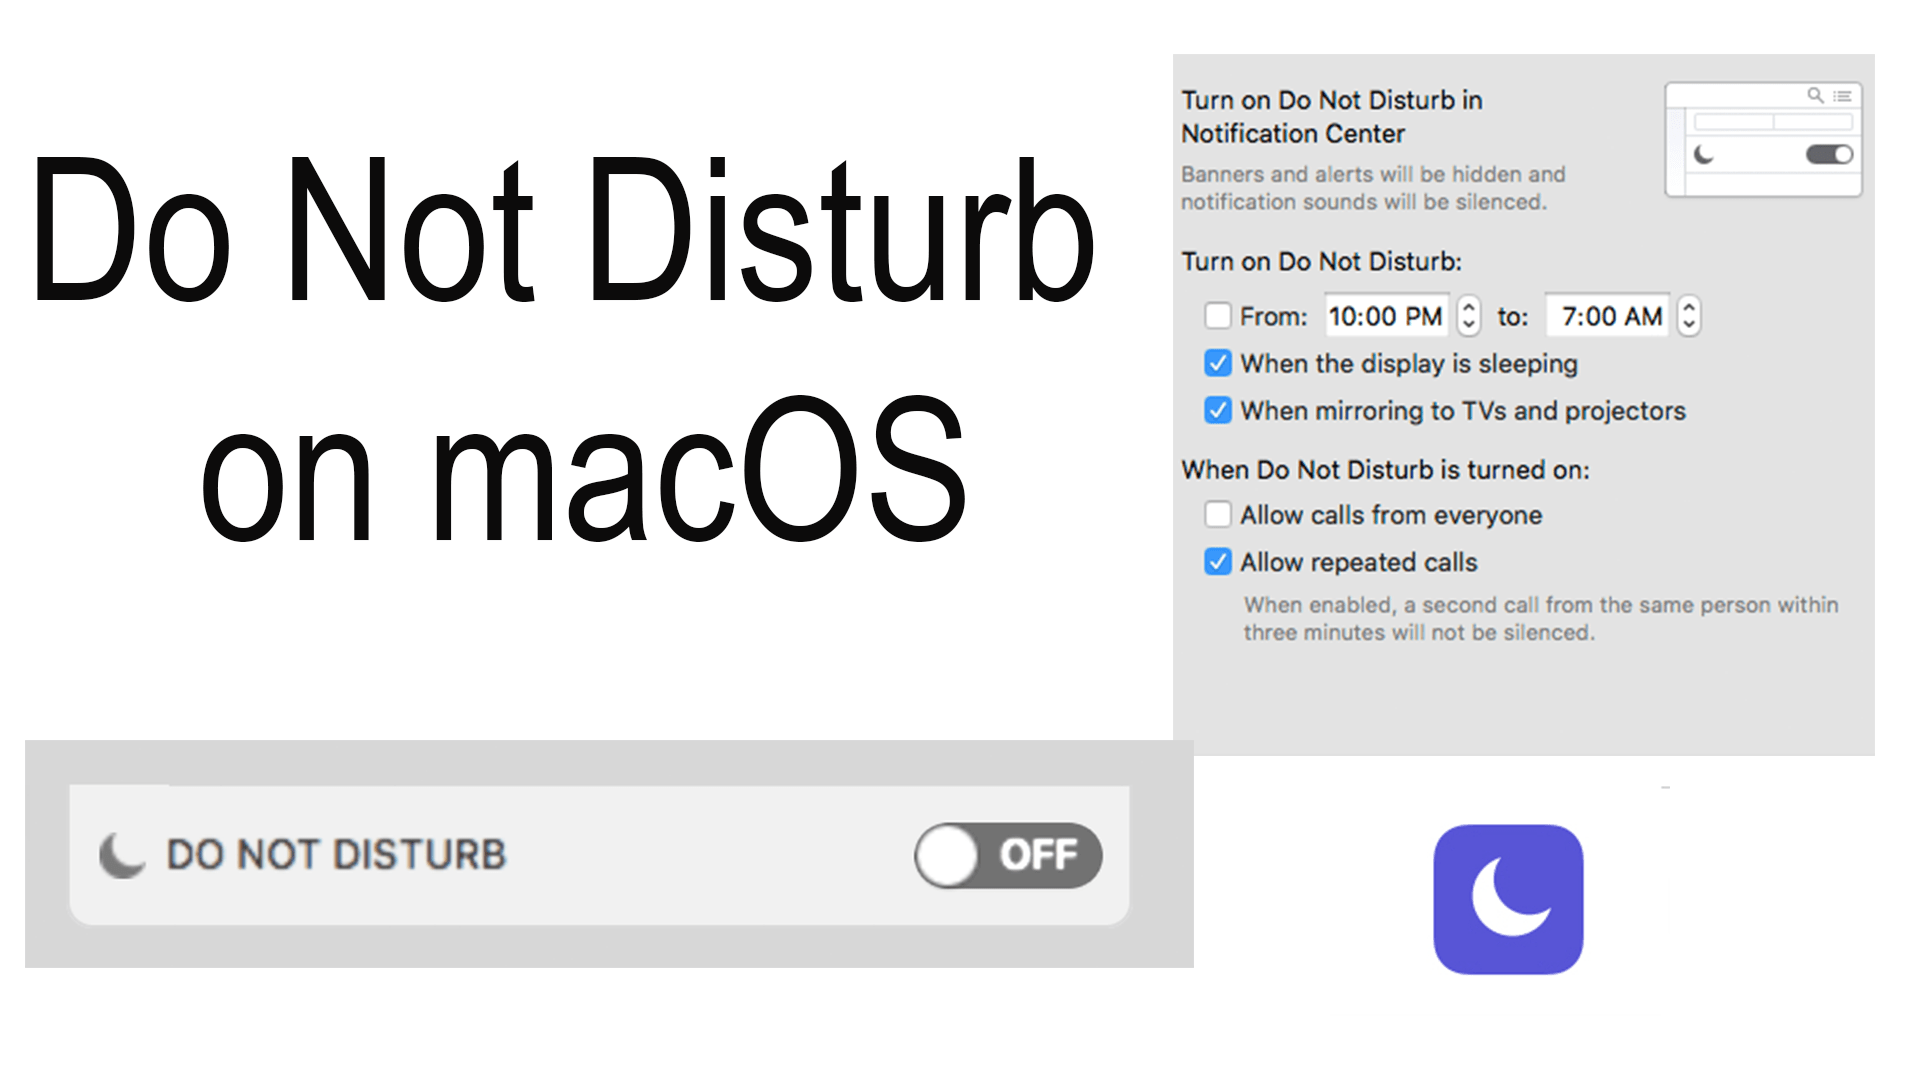
There is always a need for quiet time, to limit notification distractions and get some work done with your mac. This is where Do Not Disturb comes to the rescue. When this time comes around just toggle it on or set it to a schedule.
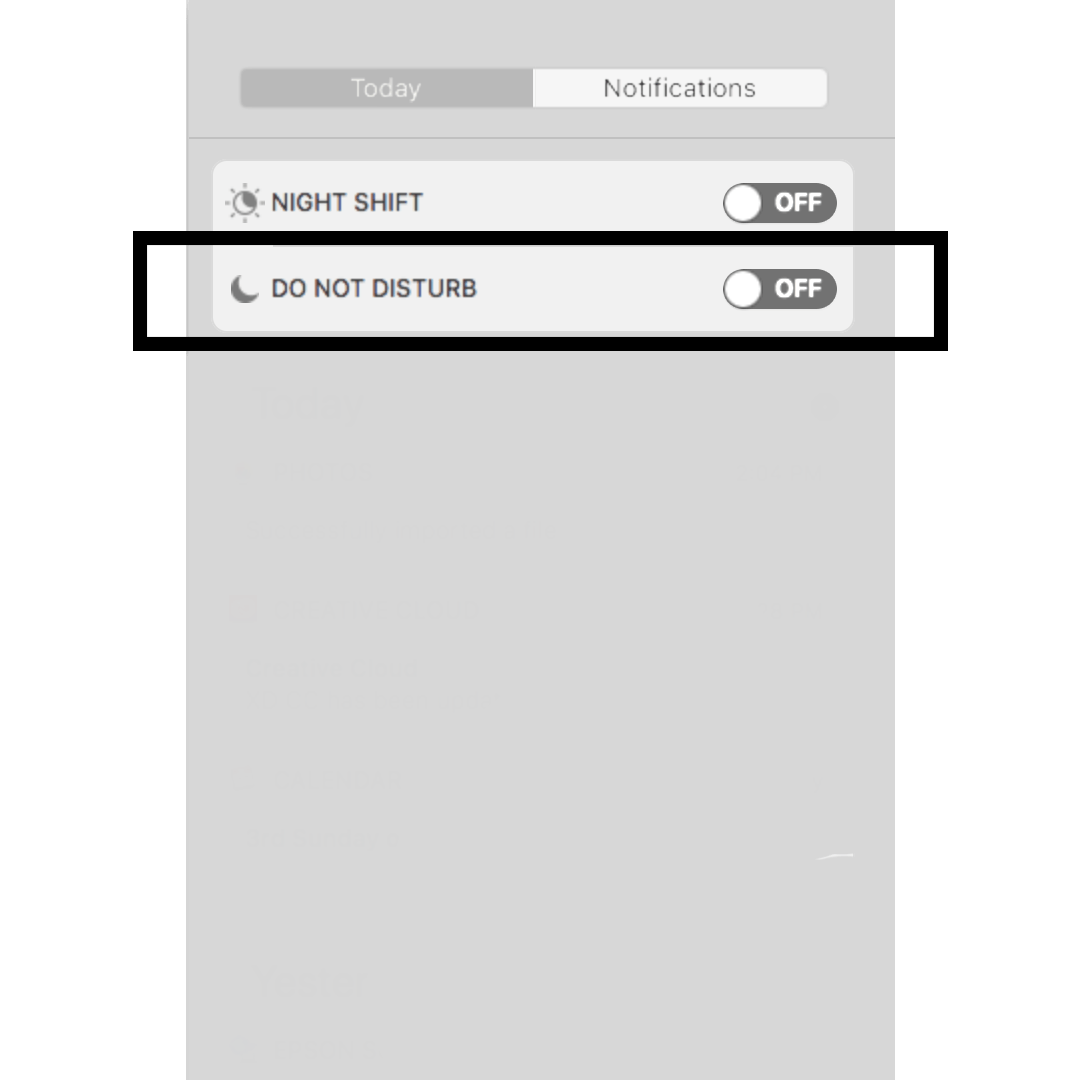
To enable Do Not Disturb open notification center on your Mac and scrolling to the very top of the notifications tab and flipping the “Do Not Disturb” switch. For more options, you have to go to the setting.
Open the Notifications preference pane by opening “System Preferences” then click on the “Notifications” pane which is the last preference on the first row. This is where you can find all of your apps that have notifications settings. The first one that will appear at the top is “Do Not Disturb”.
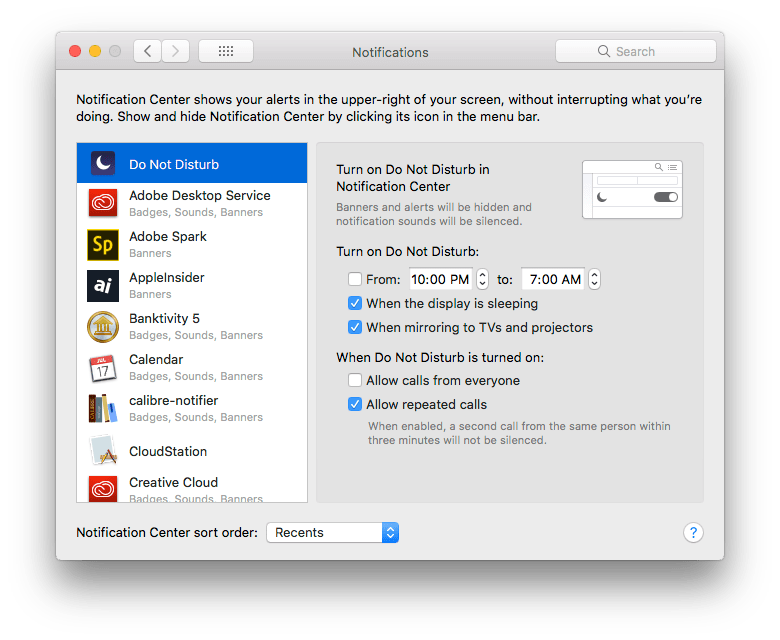
You have three options on when to automatically enable do not disturb. The first box is to use a schedule of your choice by using the “From:” and “To:” for your beginning and ending time. The next option “When the display is sleeping” will keep your computer from awakening from a black screen when a notification arrives. The last option is “When mirroring to TVs and Projectors”, this keeps notifications from appearing when connecting to devices like Apple TVs.
The final two toggles refer to, like iOS, how Do Not Disturb should react with phone calls. You can either allow calls form everyone or only those who call twice.
Helpful Links:
- iMore: How to set up and use Do Not Disturb on Mac
- Apple Support: macOS Sierra: Receive or stop notifications
Subscribe: Apple Podcasts | Google Podcasts | Spotify | Amazon Music | Android | Pandora | Blubrry | Email | TuneIn | RSS | More