
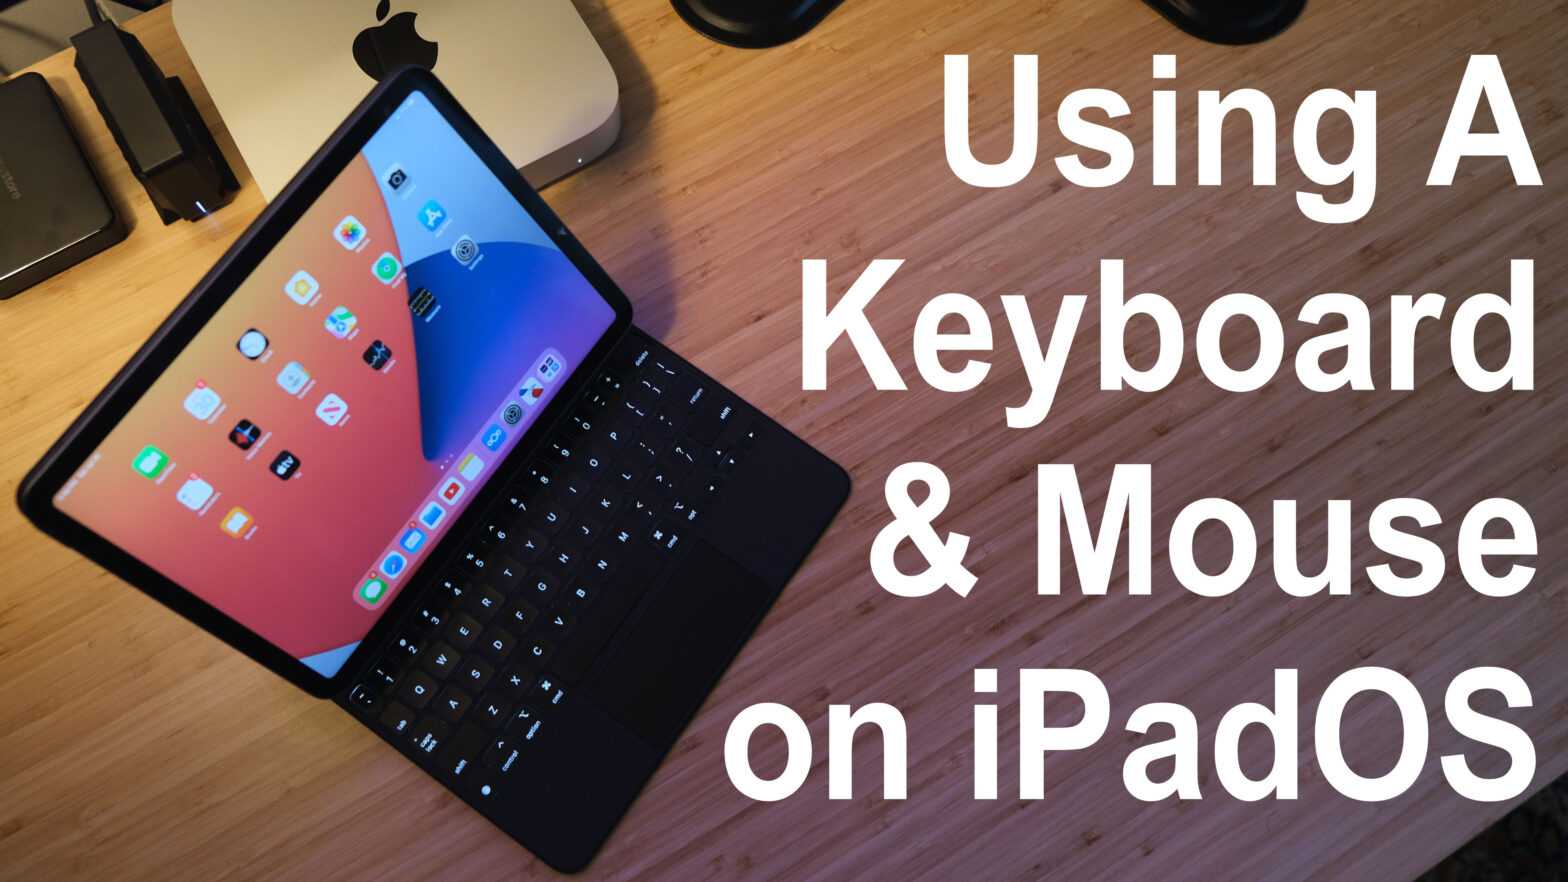
For years Apple has been trying to brand the iPad as a computer, and since then, it’s been hard to see their vision. That is until Apple added support for an external keyboard and mouse. Suddenly that vision is a little closer. So, let’s look at your options for an external keyboard and mouse, see how they work, and if it’s a good fit for you.
The simplest way to get started is by picking up a cheap Bluetooth keyboard, say around $15. Then pair it to your iPad by putting the keyboard into pairing mode and selecting it from the list of found Bluetooth devices. Once it says “Connected” next to your keyboard you are ready to take advantage of a whole slew of features and convinces that an external keyboard brings.
For one thing, the iPad has a pretty small screen. And, once that on-screen keyboard pops up, it doesn’t leave much room to work with. But, with a connected external keyboard, the on-screen keyboard is replaced with a shortcut menu that hovers over the home bar. What appears on this menu changes based on where you’re typing. For instance, if you’re in a text editor, like Notes, you may get QuickType and text formatting options. In other apps, you may only get dictation and quick access to the keyboard settings.
Beyond just typing text, you also have access to most of the keyboard shortcuts you’re familiar with on macOS. For instance, you can use the same Cmd + Z to undo, Cmd + X to cut, Cmd + C to copy, and Cmd + V to paste. Although, if you’re not already familiar with these shortcuts, you can hold down the Cmd key to see a full list of supported shortcuts for the app you’re using.
You can take those shortcuts a step forward if you find a made-for iPad keyboard. These keyboards typically have a row of function keys that serve as shortcuts to iPadOS features, like playback controls, screen brightness, and dedicated home and multitasking buttons.
However, a keyboard is nothing without its mouse counterpart. So, once you pair your mouse to your iPad, the same way as the keyboard, you will see a little dot floating around the screen.
This is a place I think Apple did a great job of bringing a pro feature to the iPad in a uniquely iPad way. You see, the cursor doesn’t work exactly as it does on a desktop computer. Instead, it is made to simulate you touching the screen. Notice, that as it moves across the screen, it conforms to the buttons a user would touch. Then, you can left-click to select that button, as you typically would. You can also right-click, which simulates a long press giving you access to those hidden long-press menus in, once again, a uniquely iPad fashion. On the other hand, you can pair a trackpad that uses the same gestures as if you are touching the screen. This means you can swipe across the trackpad with four fingers to slide through multitasking, swipe up with four fingers to close an app, or scroll using two fingers.
For a better experience, you can dive into Settings to make adjustments for a more personalized user experience.
For starters, you can customize the keyboard by going to Settings, General, Keyboard, and Hardware Keyboard. Here, you can make changes specific to your external keyboard. Say, if you prefer that iPadOS does not auto-capitalize, you can flip that switch. However, these settings only change for the external keyboard, not the on-screen.
You can also make adjustments to your trackpad by going to Settings, General, and Trackpad, where you can change the speed, scrolling direction, and clicking options. If you prefer to disable gestures, you can go to Settings, General, Gestures, and flip the “four and five finger swipe” off. Just note that this will also disable the feature if you use the same gestures on your screen. The last thing you can customize is your pointer by going to Settings, Accessibility, and Pointer Control. Here, you can change the size and color of your pointer which can make it easier to find on your screen. If you don’t like how the pointer snaps to every button you hover over, you can disable pointer animations. And, lastly, if you have a fancy mouse with multiple programmable buttons, you can go to the AssistiveTouch setting and link each button on your mouse to an iPadOS feature.
Trying a Bluetooth keyboard with a mouse or trackpad is a great way to get started and see if that’s what you’re iPad setup is missing.
If it is your missing link, you may want to start looking for an upgrade in the form of a keyboard case rather than carrying around a loose keyboard and mouse.
Here, you have a couple of name-brand options. There’s Logitech’s Combo Touch ($) and Folio Touch ($), and Apple’s Magic Keyboard, which is what I went with.
Now, yes, Apple’s offering is the most expensive coming in at $300, but at the same time, it offers features and a design the others didn’t. For instance, I was looking for a case that could stand up on its own, like a laptop, which rules out both Logitech options because they both have kickstands.
So, let’s take a look at this case in more detail.
In the package comes the keyboard case that features a full-sized backlit keyboard, a comfortably sized trackpad, and a USB-C port for pass-through charging of your iPad that magnetically connects to the case. This leaves the USB type C port on your iPad available for more important things like plugging in a camera, TVs, or any other adapters. Overall, it’s a great option if you’re a heavy typer and always want a keyboard and mouse with you. My only complaint is that it’s missing an Apple Pencil cover. I don’t feel comfortable carrying around my expensive Apple Pencil out in the open like that, where it can easily pop off and be gone forever. But, I also don’t use the Pencil very often, so it wasn’t a requirement. If this feature is important to you, you may want to look into the Logitech Folio Touch, which also collapses making it easier to draw on.
If you’ve made it this far, you need to slow down and ask yourself, what are you really looking for? Do you want an iPad because you plan on using it for its touch screen features and Apple Pencil? Or do you want an iPad so you can turn it into a MacBook? Because, as I said in my prior video, once you get yourself an iPad and keyboard case, you are likely to have spent more than just getting a MacBook Air to begin with. But, if you already have an iPad, a keyboard and mouse may help you be more productive. At least it’s worth a try.
Thanks for watching! If you enjoyed this video, be sure to like and subscribe for more, check out the links in the description where you can find our website, socials, and more. Once again, thanks for watching and I will catch you in the next one!
Apple Support Links
- Apple Support: “Connect a mouse to iPad” – https://support.apple.com/guide/ipad/connect-a-mouse-ipad10939edf/ipados
- Apple Support: “Use a Bluetooth mouse or trackpad with your iPad” – https://support.apple.com/en-us/HT211008
- Apple Support: “Set up and use Magic Keyboard for iPad” – https://support.apple.com/en-us/HT211091
- Apple Support: “Learn iPad keyboard shortcuts” – https://support.apple.com/en-us/HT211096
- AppleGuideWeb.com: “Vlog: How to Use Universal Control” – https://appleguideweb.com/vlog-how-to-use-universal-control/
Subscribe: Apple Podcasts | Google Podcasts | Spotify | Amazon Music | Android | Pandora | Blubrry | Email | TuneIn | RSS | More