
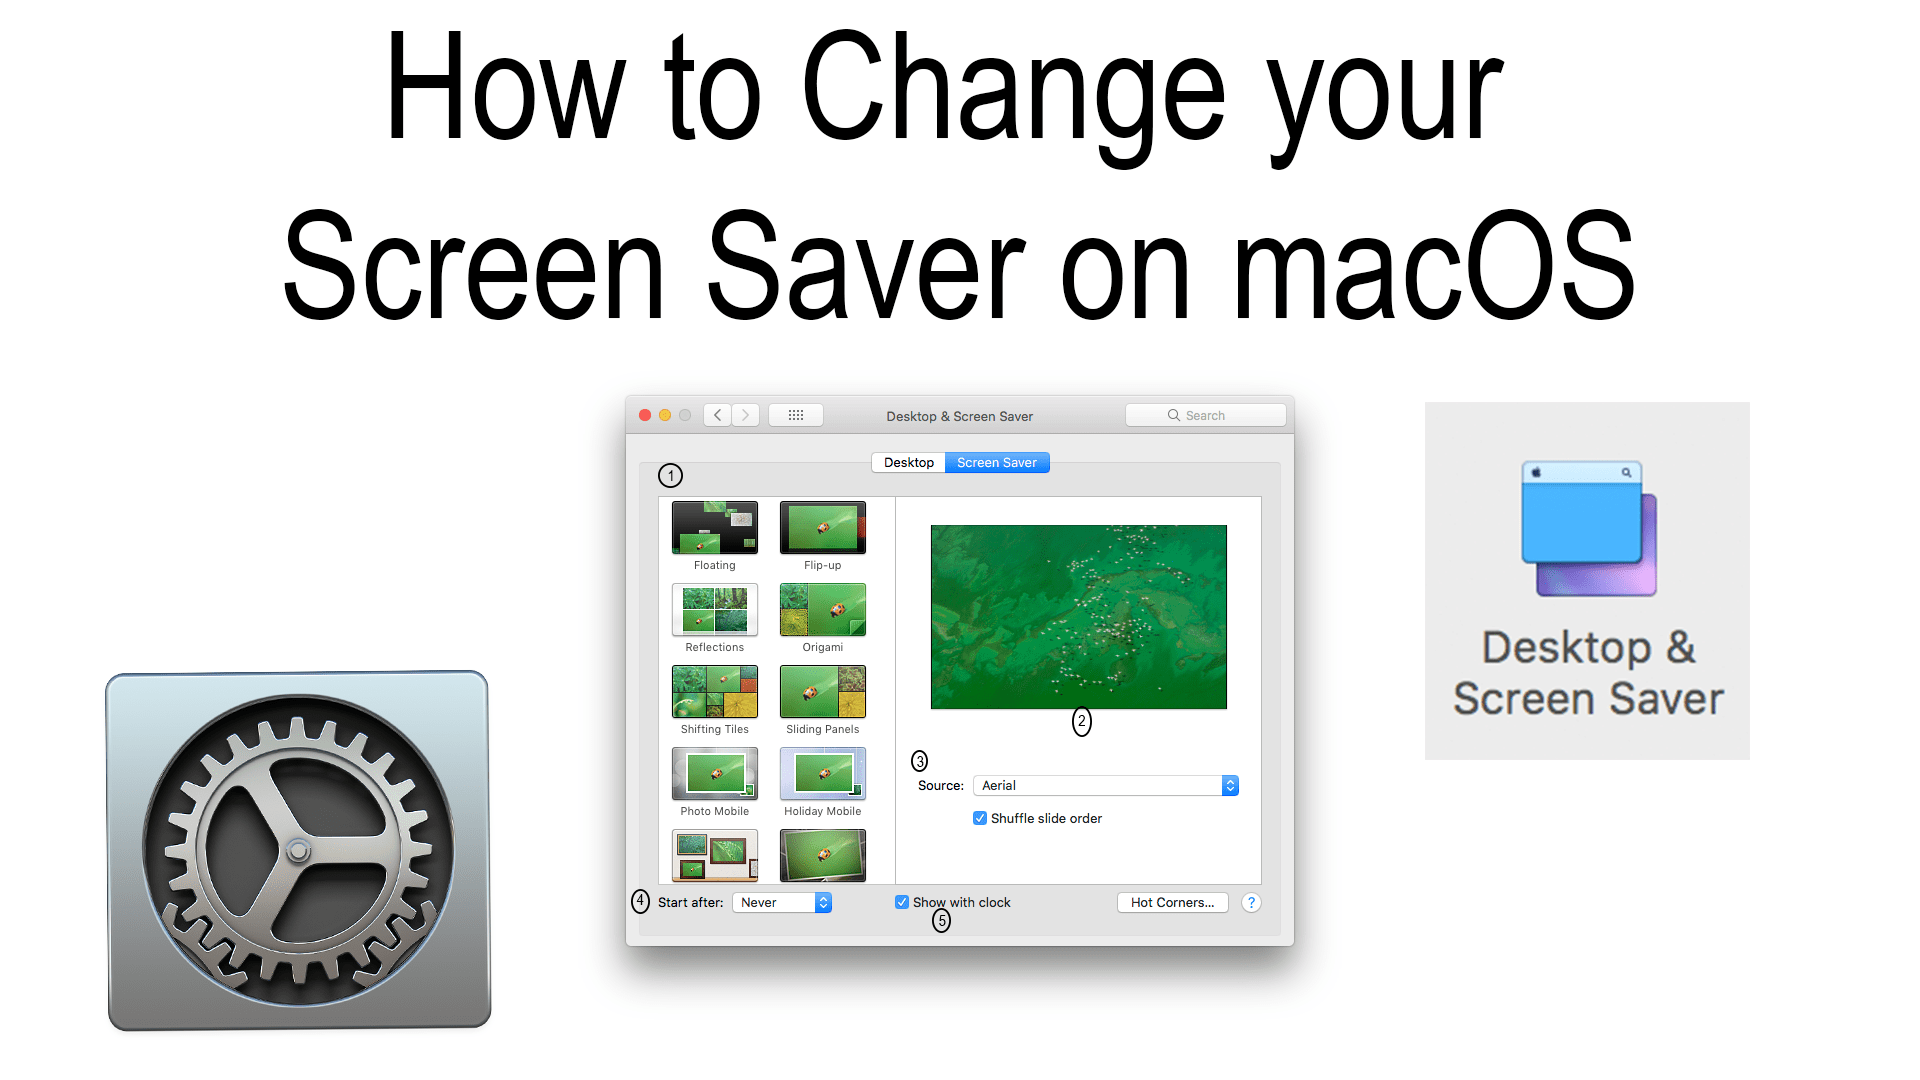
The screensaver is a series of images that appear on your screen once it goes to sleep. This can add a little bit of design to your sleep screen instead of your typical black screen.
To change your screensaver open System Preferences by clicking on the Apple menu () on the top menu bar, then go down to “System Preferences”. Once opened click on “Desktop & Screen Saver”. Then if not already click the “Screen Saver” tab at the top of the pane.
Screen Saver
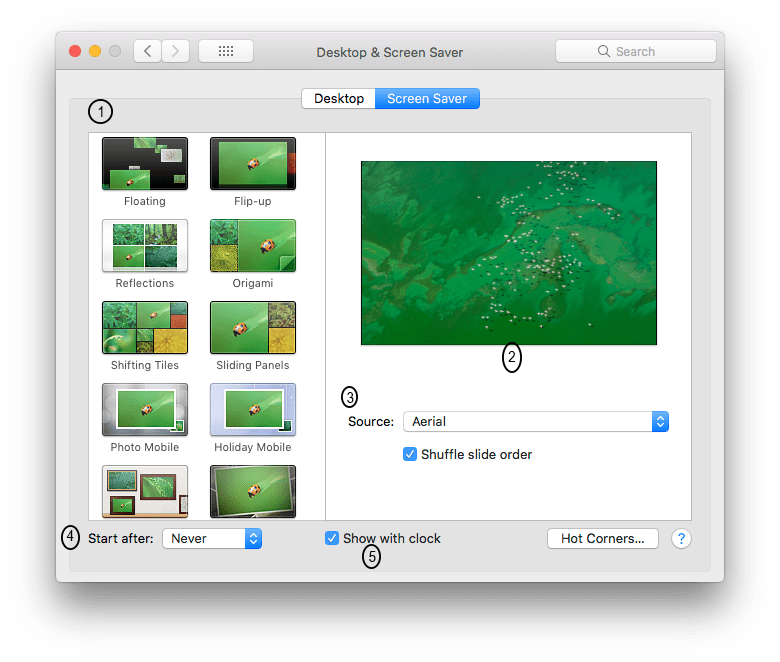
Key:
①: Styles
②: Preview
③: Source
④: Start Time
⑤: Clock toggle
It is best to start with choosing the source ③, this is the location that the images will be pulled from.
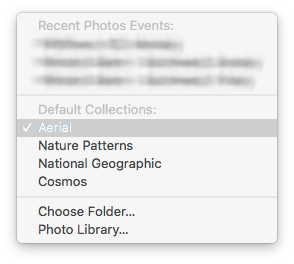
To do so click the “Source” ③ dropdown and choose one from the list. At the top are your “Recent Photo Events”, or photos that were recently imported to the Photos app. Under that are “Default Collections” that are preinstalled including “Aerial”, “Nature Patterns”, “National Geographic”, and “Cosmos” (space). If none of these options are for you, then you can make your own folder of pictures and link the screen saver to it by clicking “Choose Folder…” from the “Sources” list.
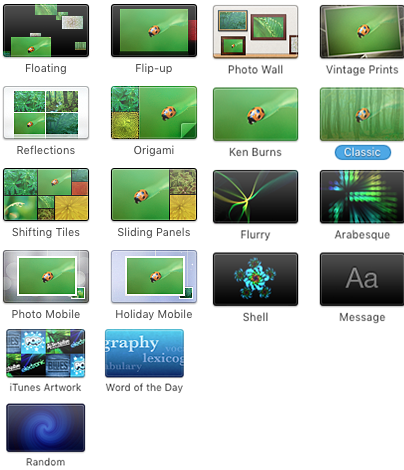
Now that you have selected your images of choice for your screen saver choose the style ①, or how you want them to come across the screen once your computer has gone to sleep. To add a clock over the screen saver toggle the “Show with clock” at the bottom of the panel.
Anytime you make a change to your screensaver you can see what it will look like in the preview ②.
Now that you have your screensaver customized how you like it choose when you want it to appear by clicking on the “Start after:” menu and choosing a time. This is how long your computer will wait with no activity until it goes to the screen saver. For instance, if you set this time for 5 minutes, after 5 minutes of no activity on your computer the computer will go to sleep and the screensaver will begin.
Helpful Links:
Apple Support: How to display a screen saver on your Mac