
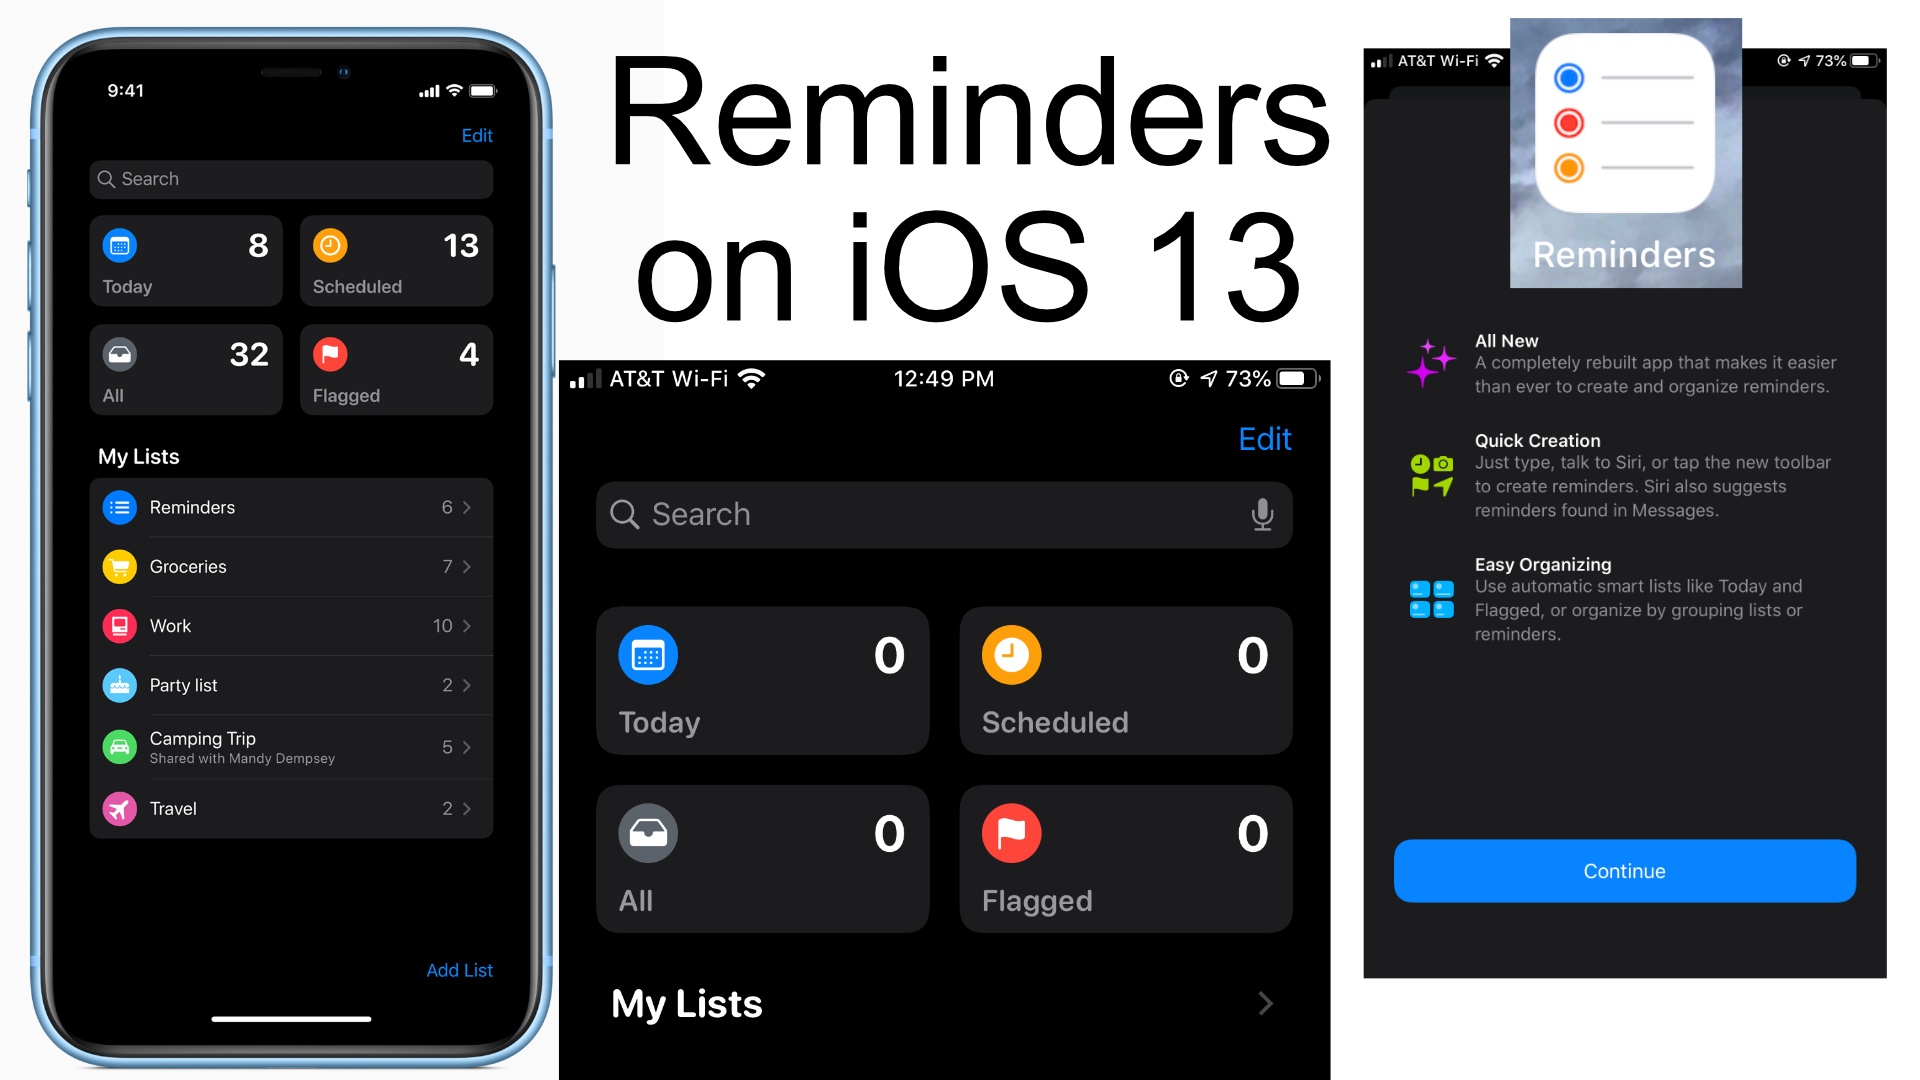
iOS 13 is coming shortly and with it a revamped Reminders app.
The Reminders app has been around for many years without receiving any attention. It used to have this weird complicated design where list appeared like reward cards do in the Wallet app. iOS 13 changes everything with an all-new simple design.
Creating a list and adding a Reminder
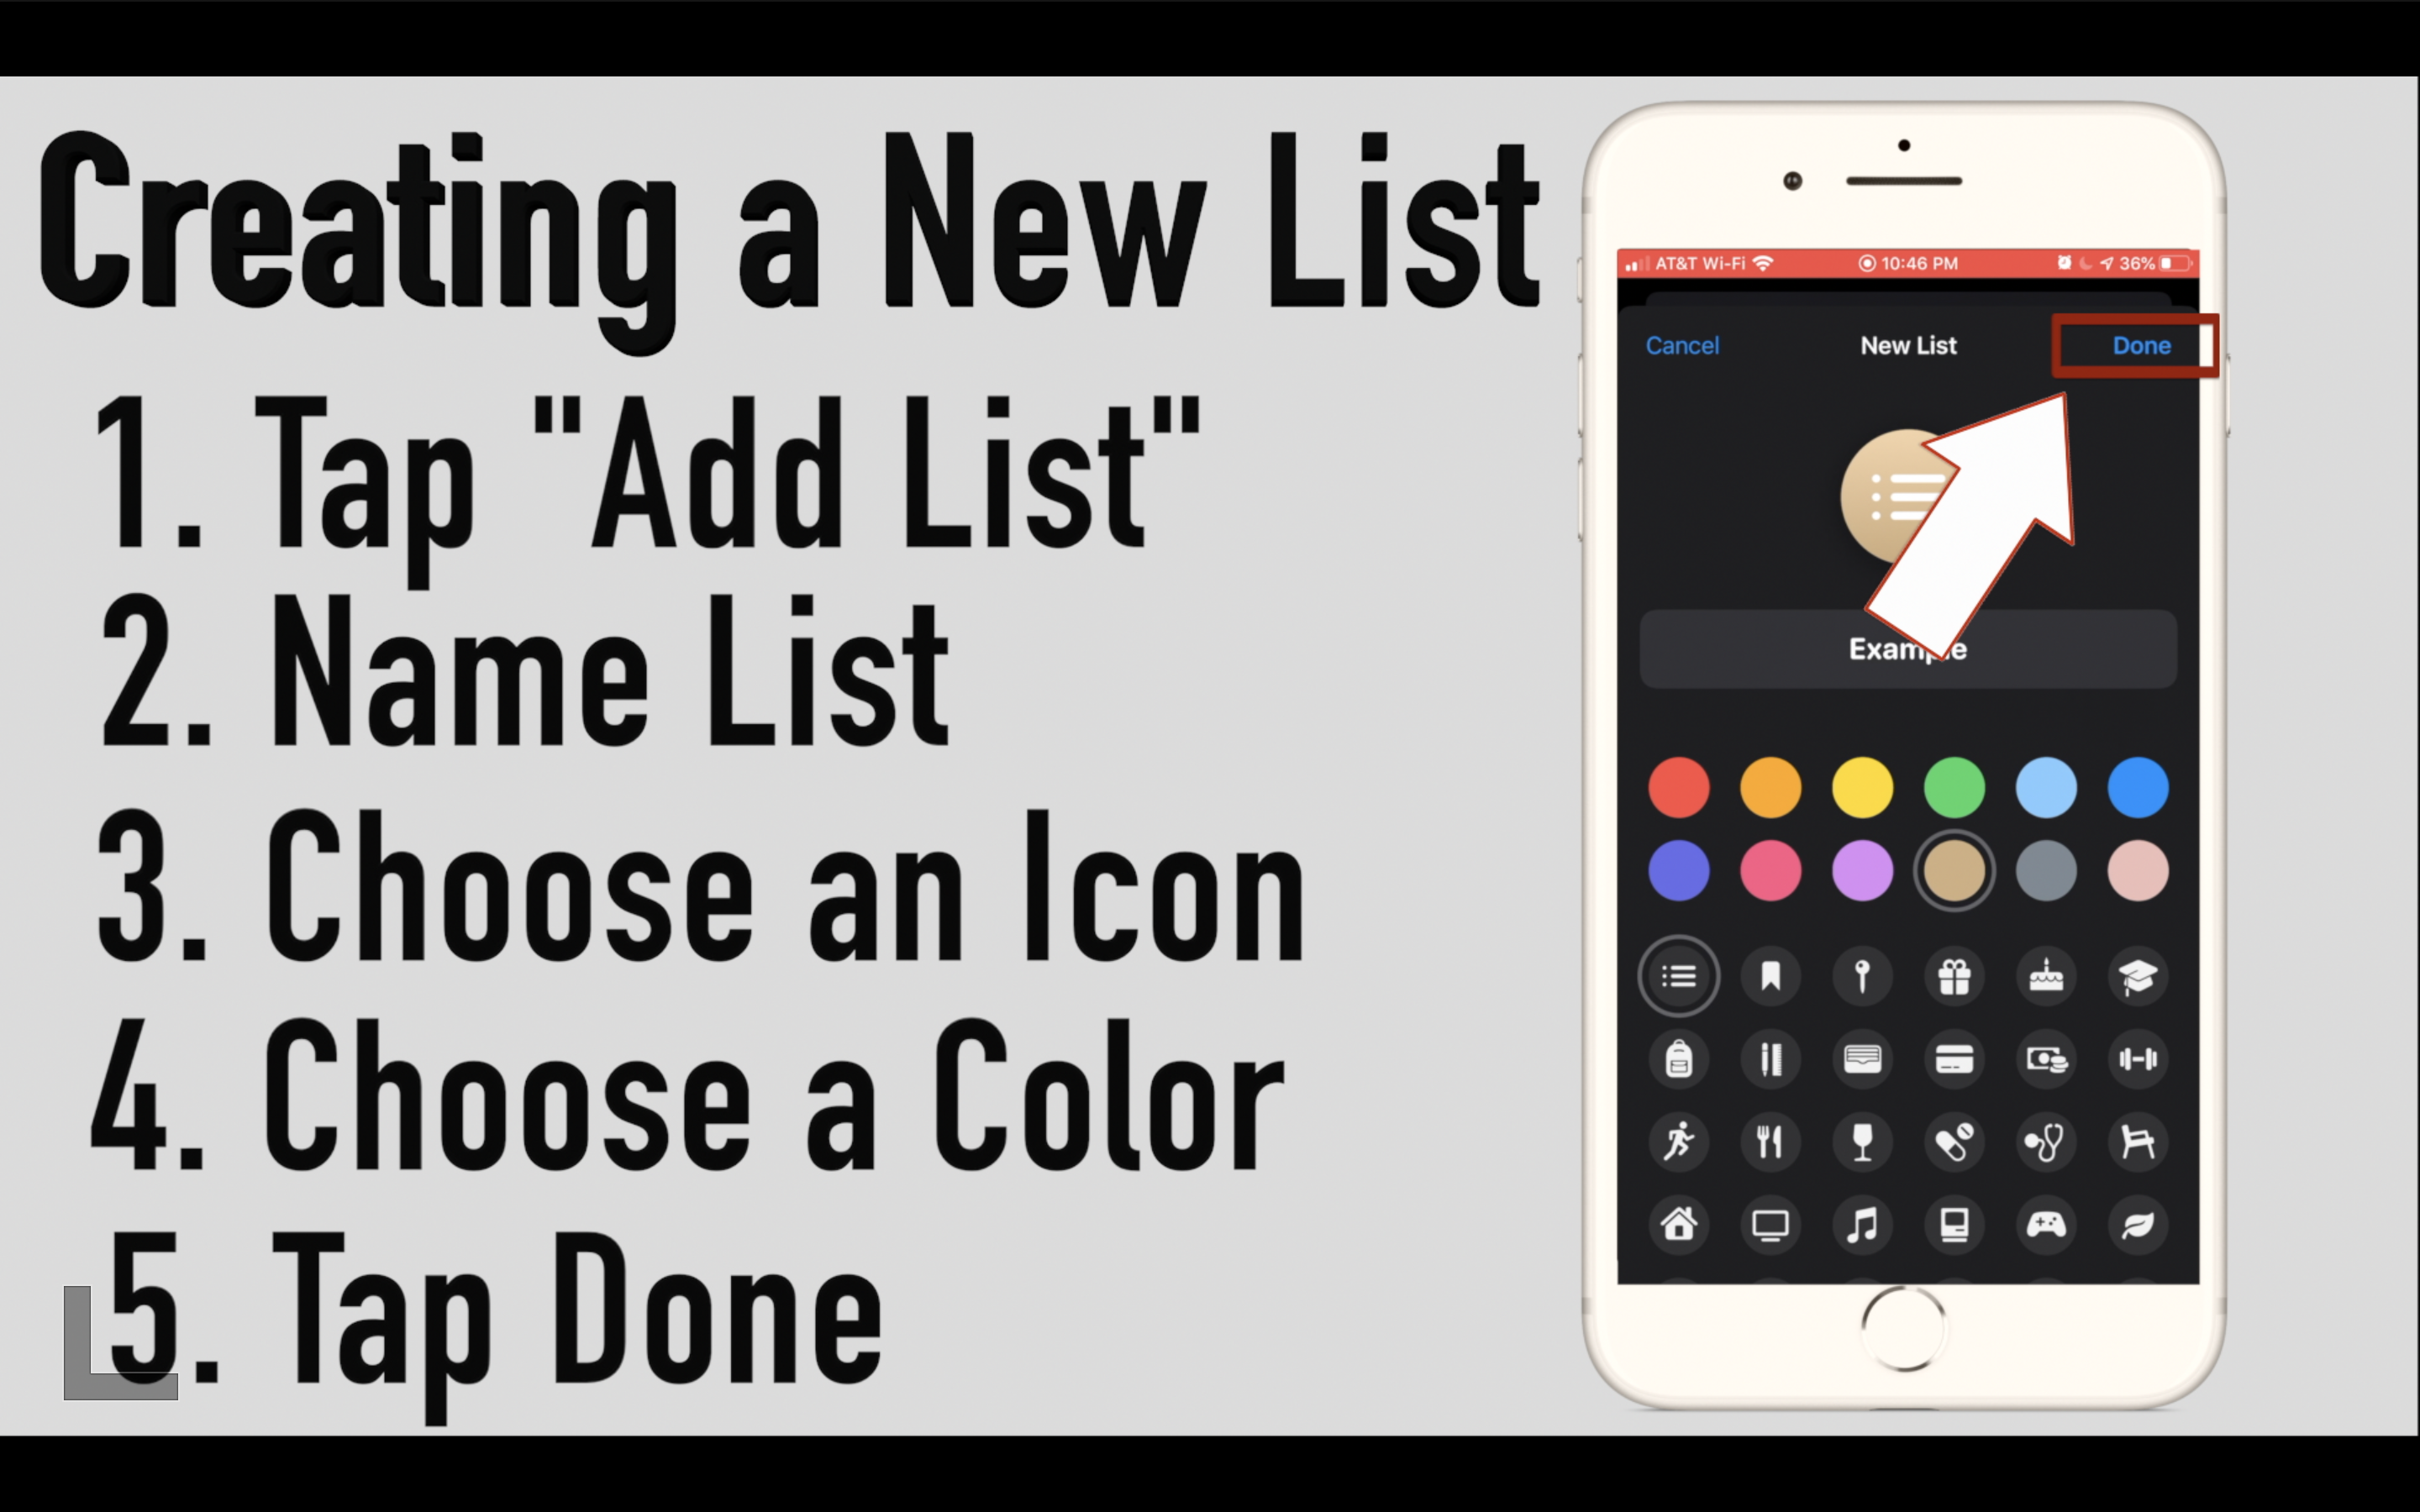
First, let’s start by talking about lists. Lists are now listed out allowing you to see all of your list easier. You can create a new list by clicking “Add List” in the bottom left corner of your screen. Upon creating a new list give it a good name then choose an image and a background color. If you change your mind about the image, name, or color you can always change it later. Now that you have your new list, you’re ready to open and add items to it by clicking “+ New Reminder” at the bottom right of the screen, then type your reminder. While entering a reminder a shortcut menu will appear above the keyboard to attach a time, location, flag, and a picture or document. To edit the details of your reminder, click the “i” next to the reminder. From details, you can attach a website link (URL), enter a custom date and time, set priority, move to another list, and attach a photo. Once you have successfully completed a reminder tap the dot next to the reminder.
Editing List

To edit your list click the three dots at the top left next to the list name. This will give you more options for editing and sharing your list. The first options will allow you to change the name, icon, and background color, or the option that you saw while creating the list. You can share your list by clicking “Add People” then choose how you would share the link to allow people to join your list. Upon sharing a list with someone you will get a new option labeled “View Participants” where you can remove access for some people and share the link with more people or ultimately stop sharing. Also, in the three-dot menu, you can delete the list, edit the list to remove or reorder individual reminders, and show all completed reminders from that list.
Filters
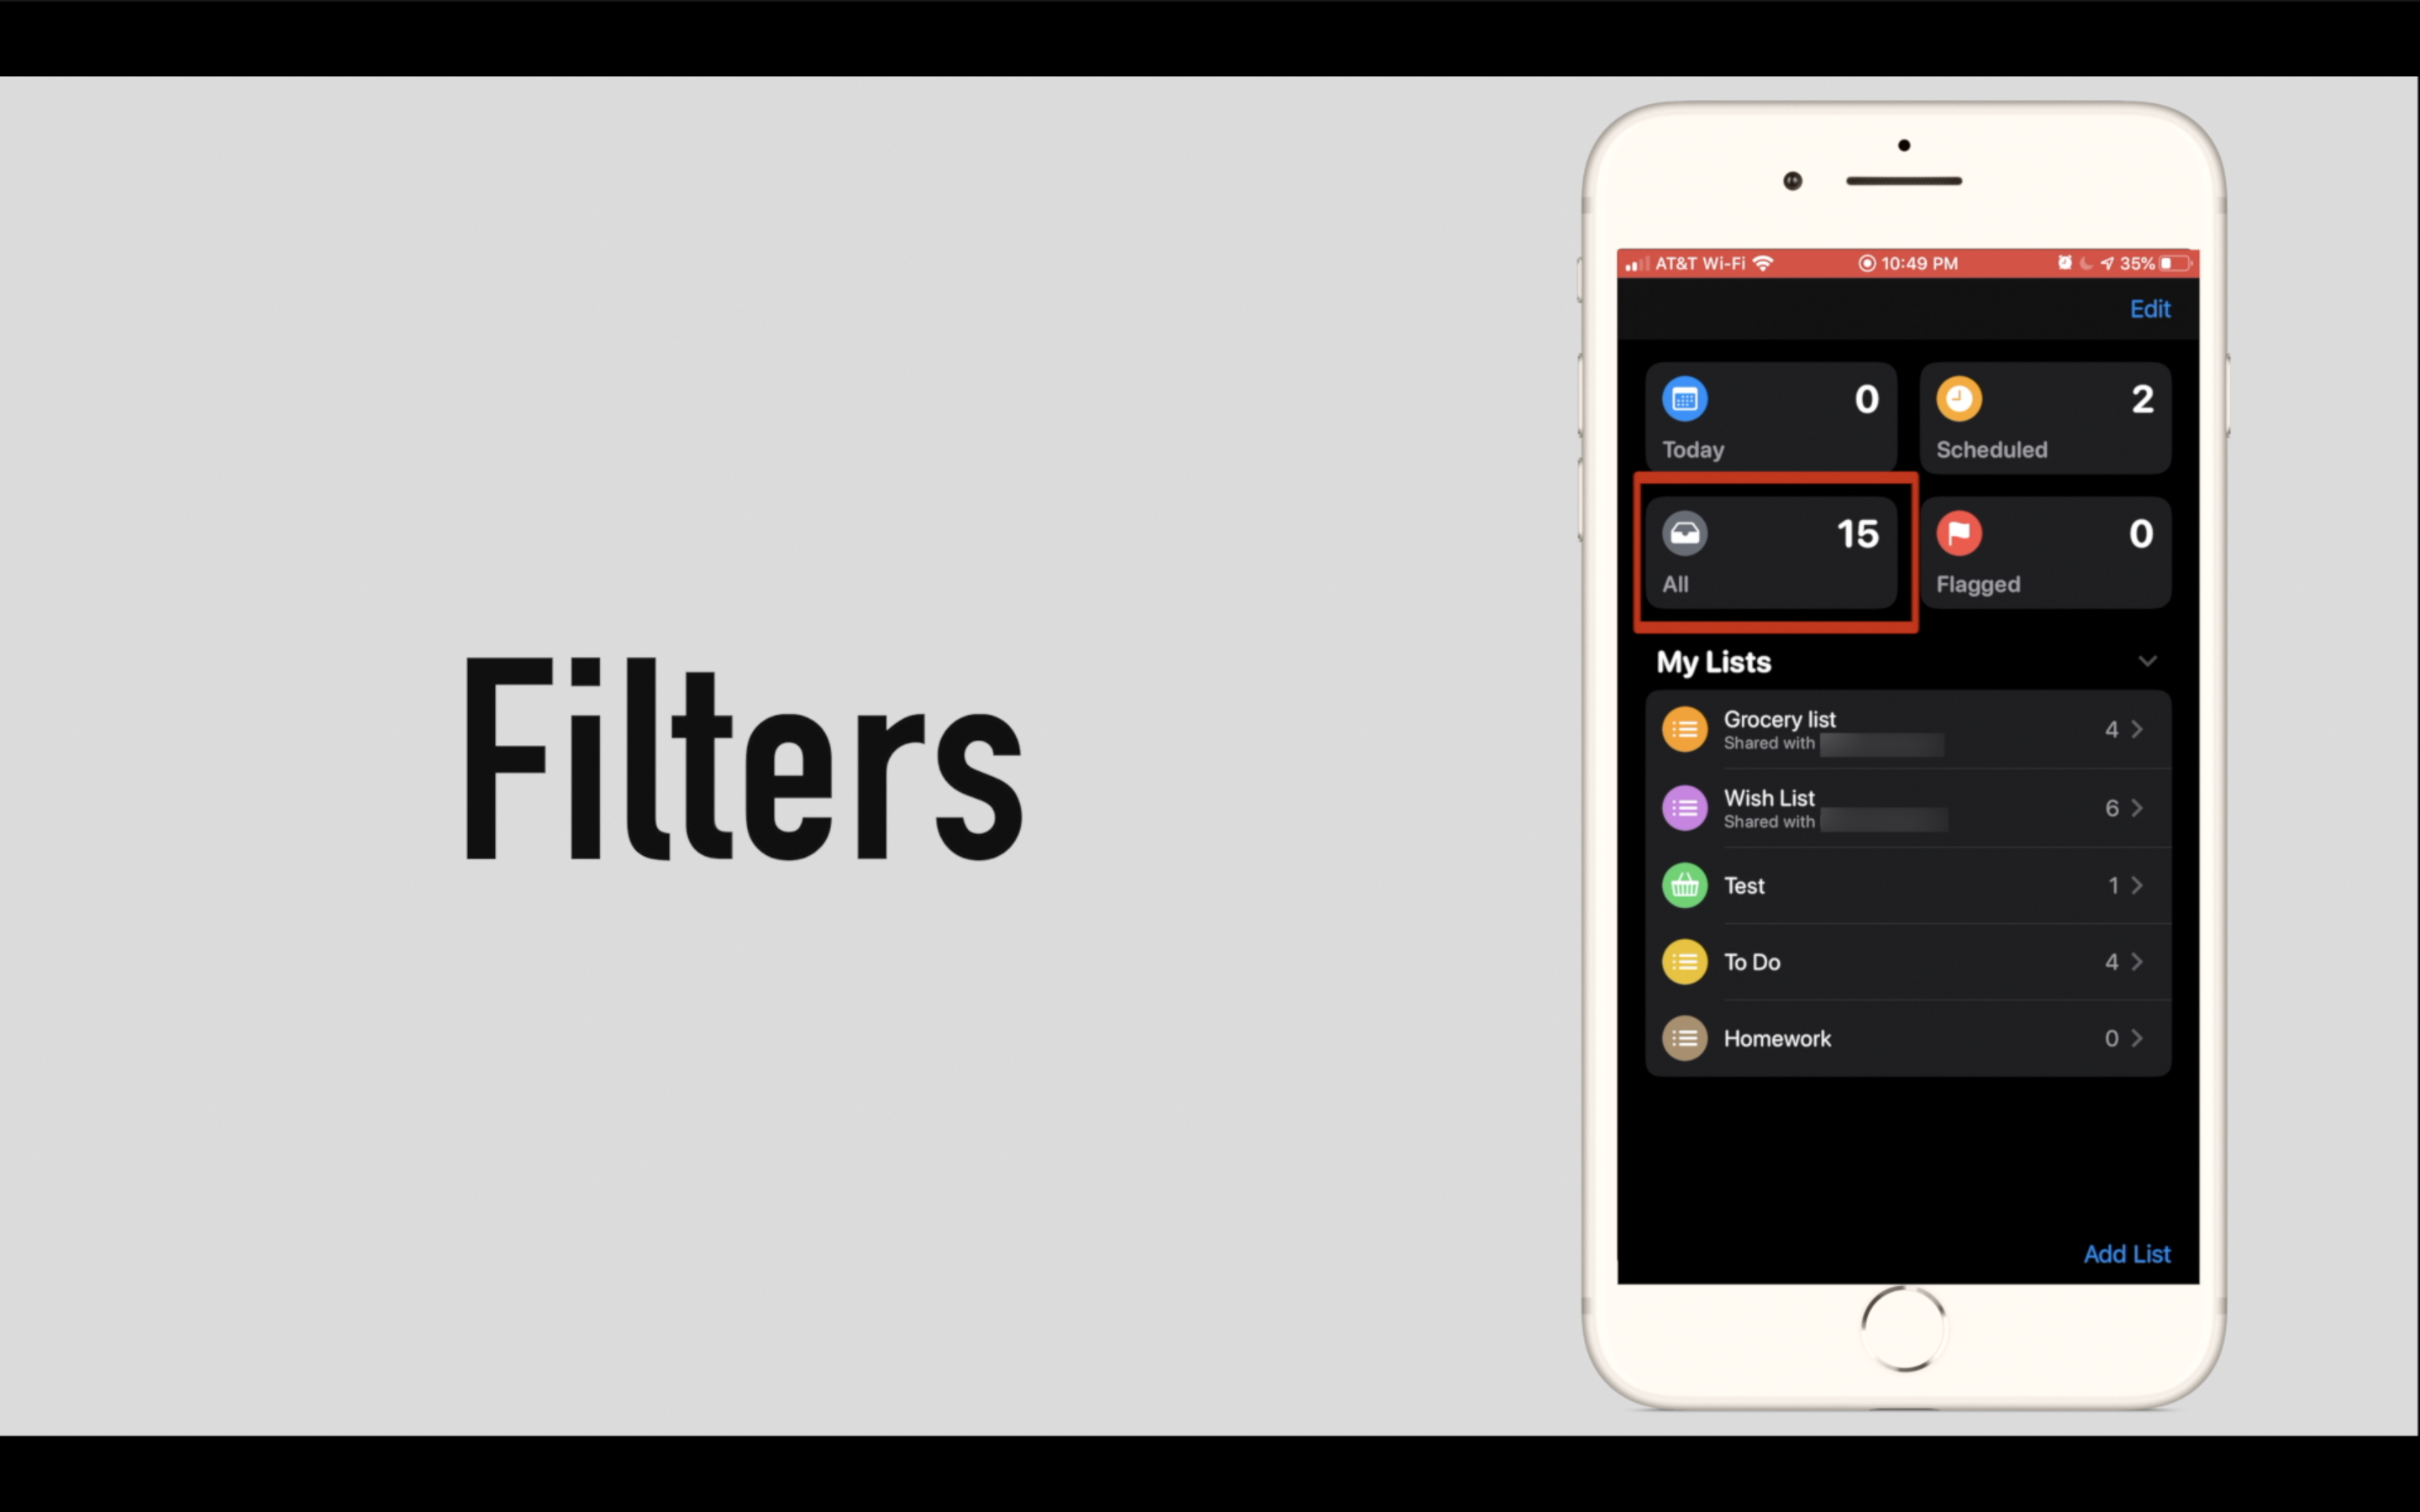
Now let’s go all the way back to the Reminders home screen to take a more detailed look. At the top four default filters so you will only see the reminders scheduled today, all of your scheduled reminders, all of your reminders, and flagged reminders.
Organizing Lists
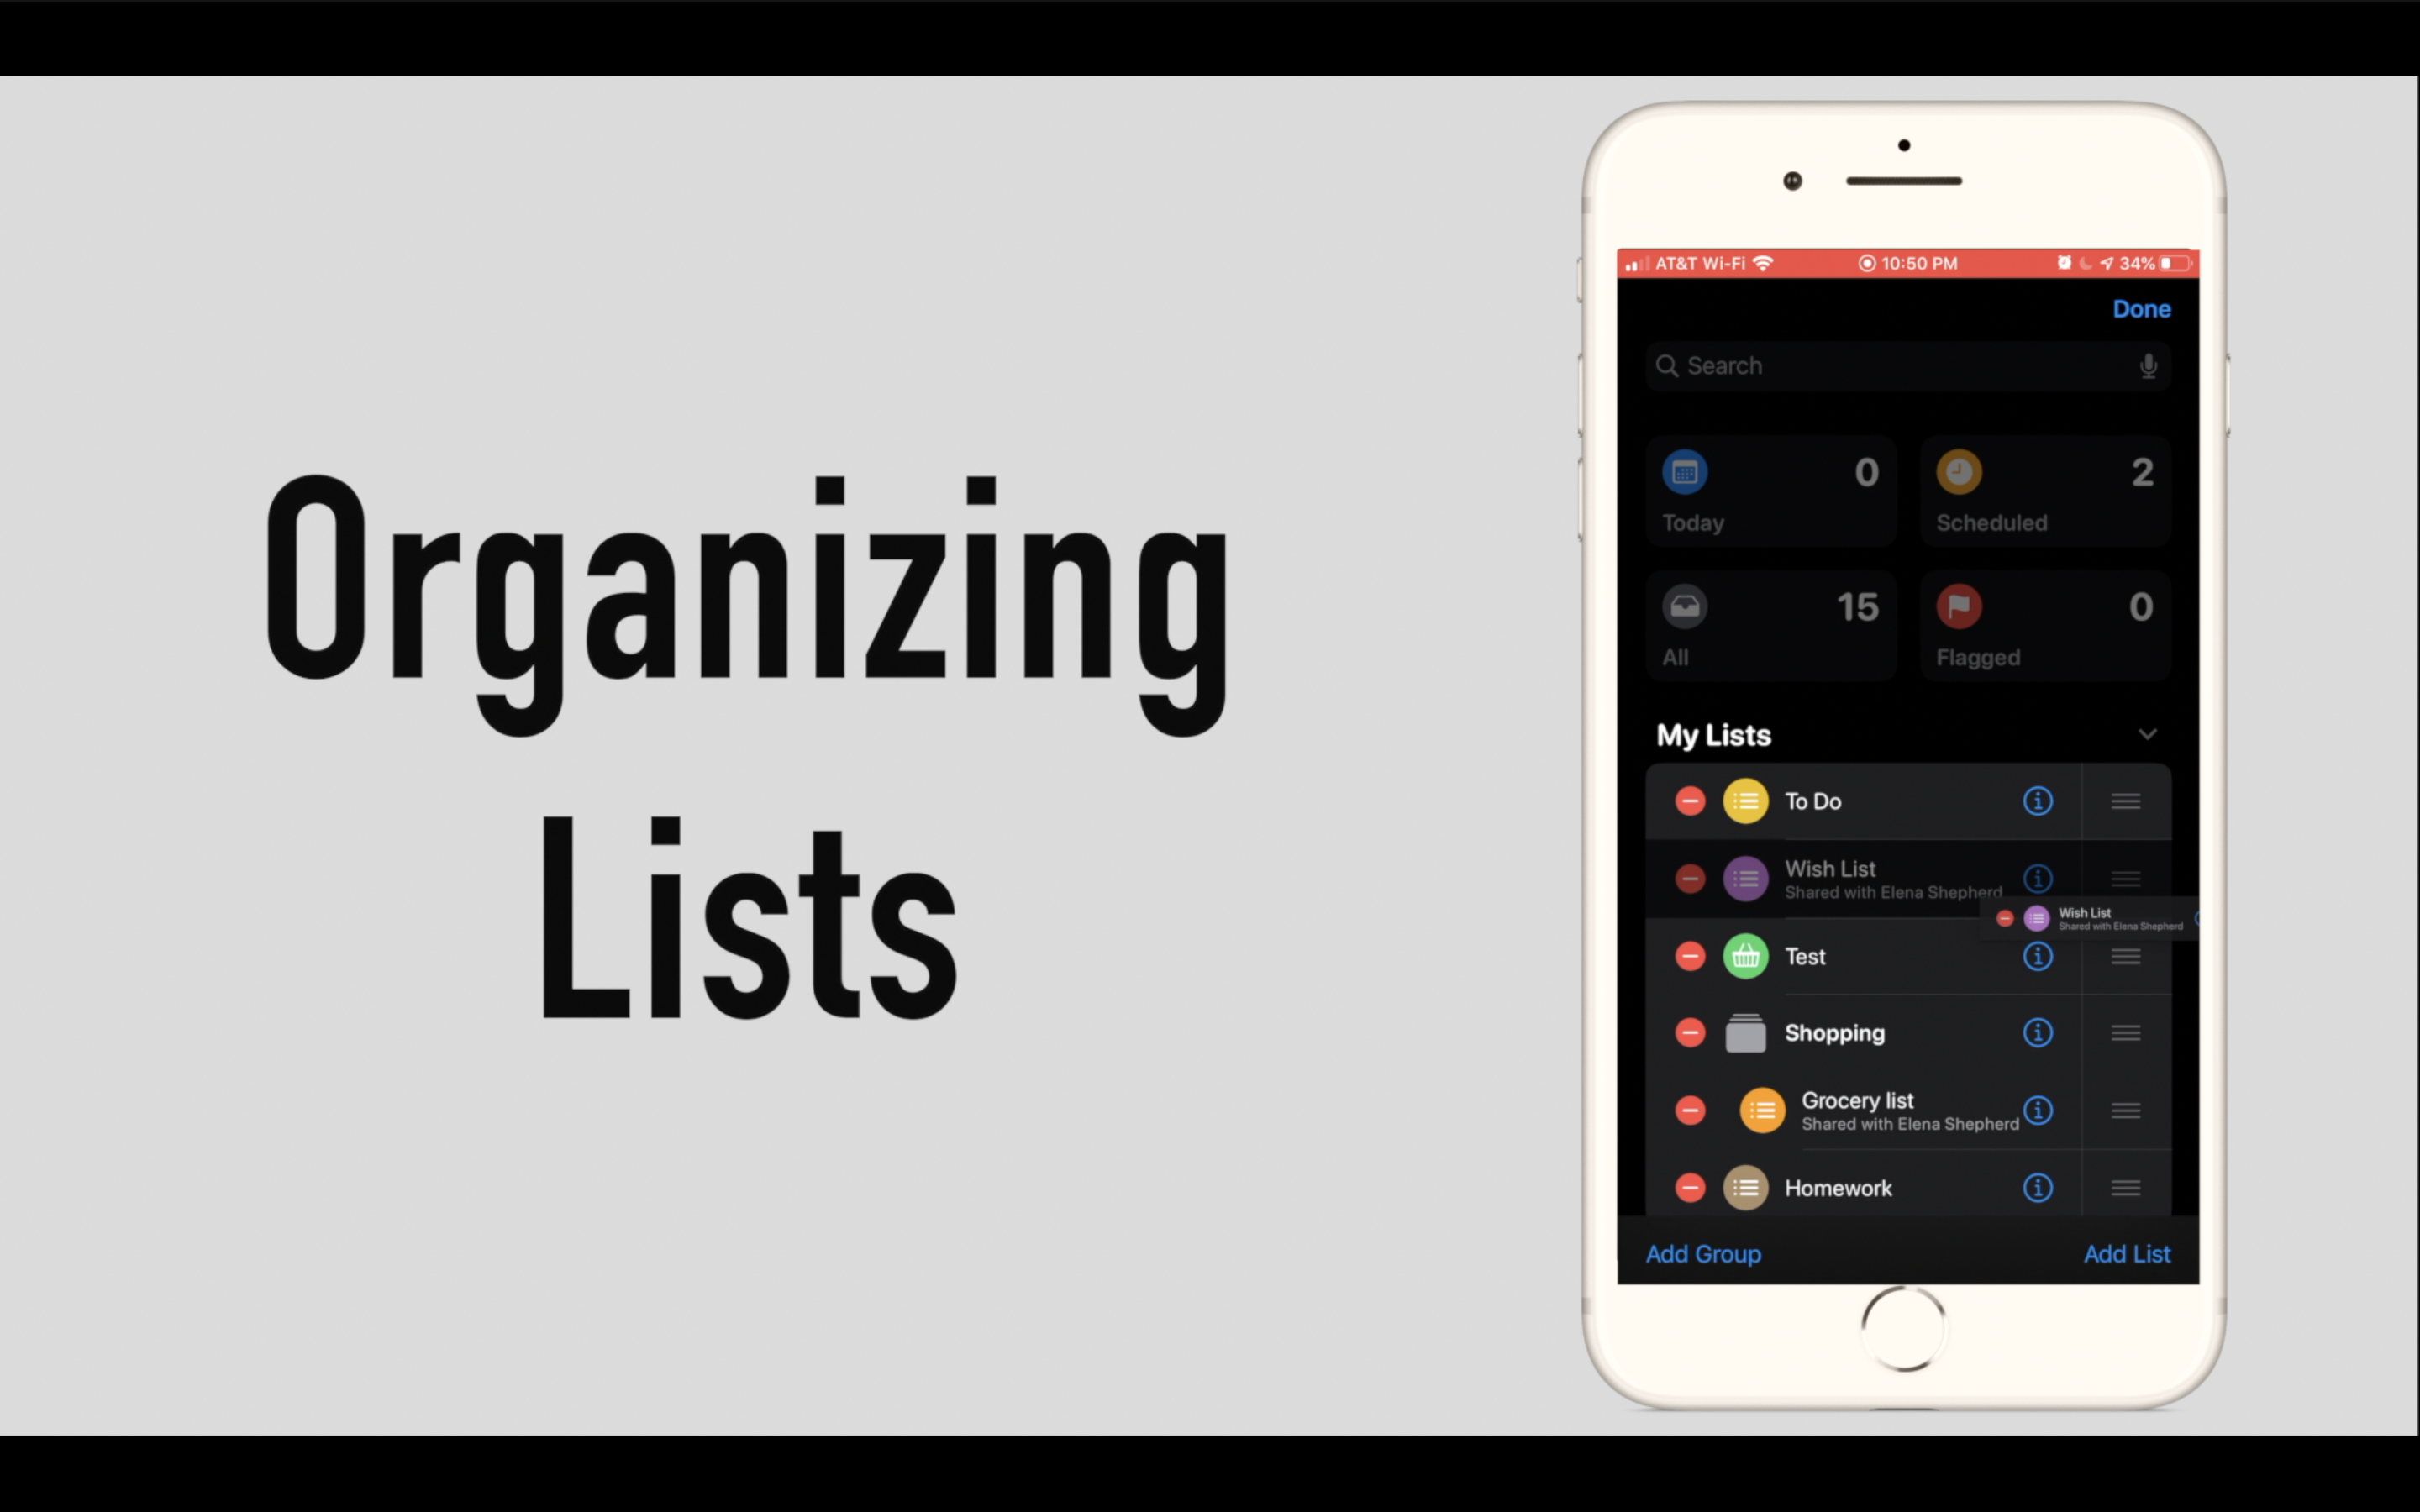
Under the filters are where all of your lists are organized which you can organize into groups by clicking “Edit” in the top left corner just above the search bar, then click “Add Group” in the bottom right-hand side, give it a name. Then if you already have the list created you can add them now. From edit, you can use the three lines next to a list to move your lists and groups into your preferred order.
Search
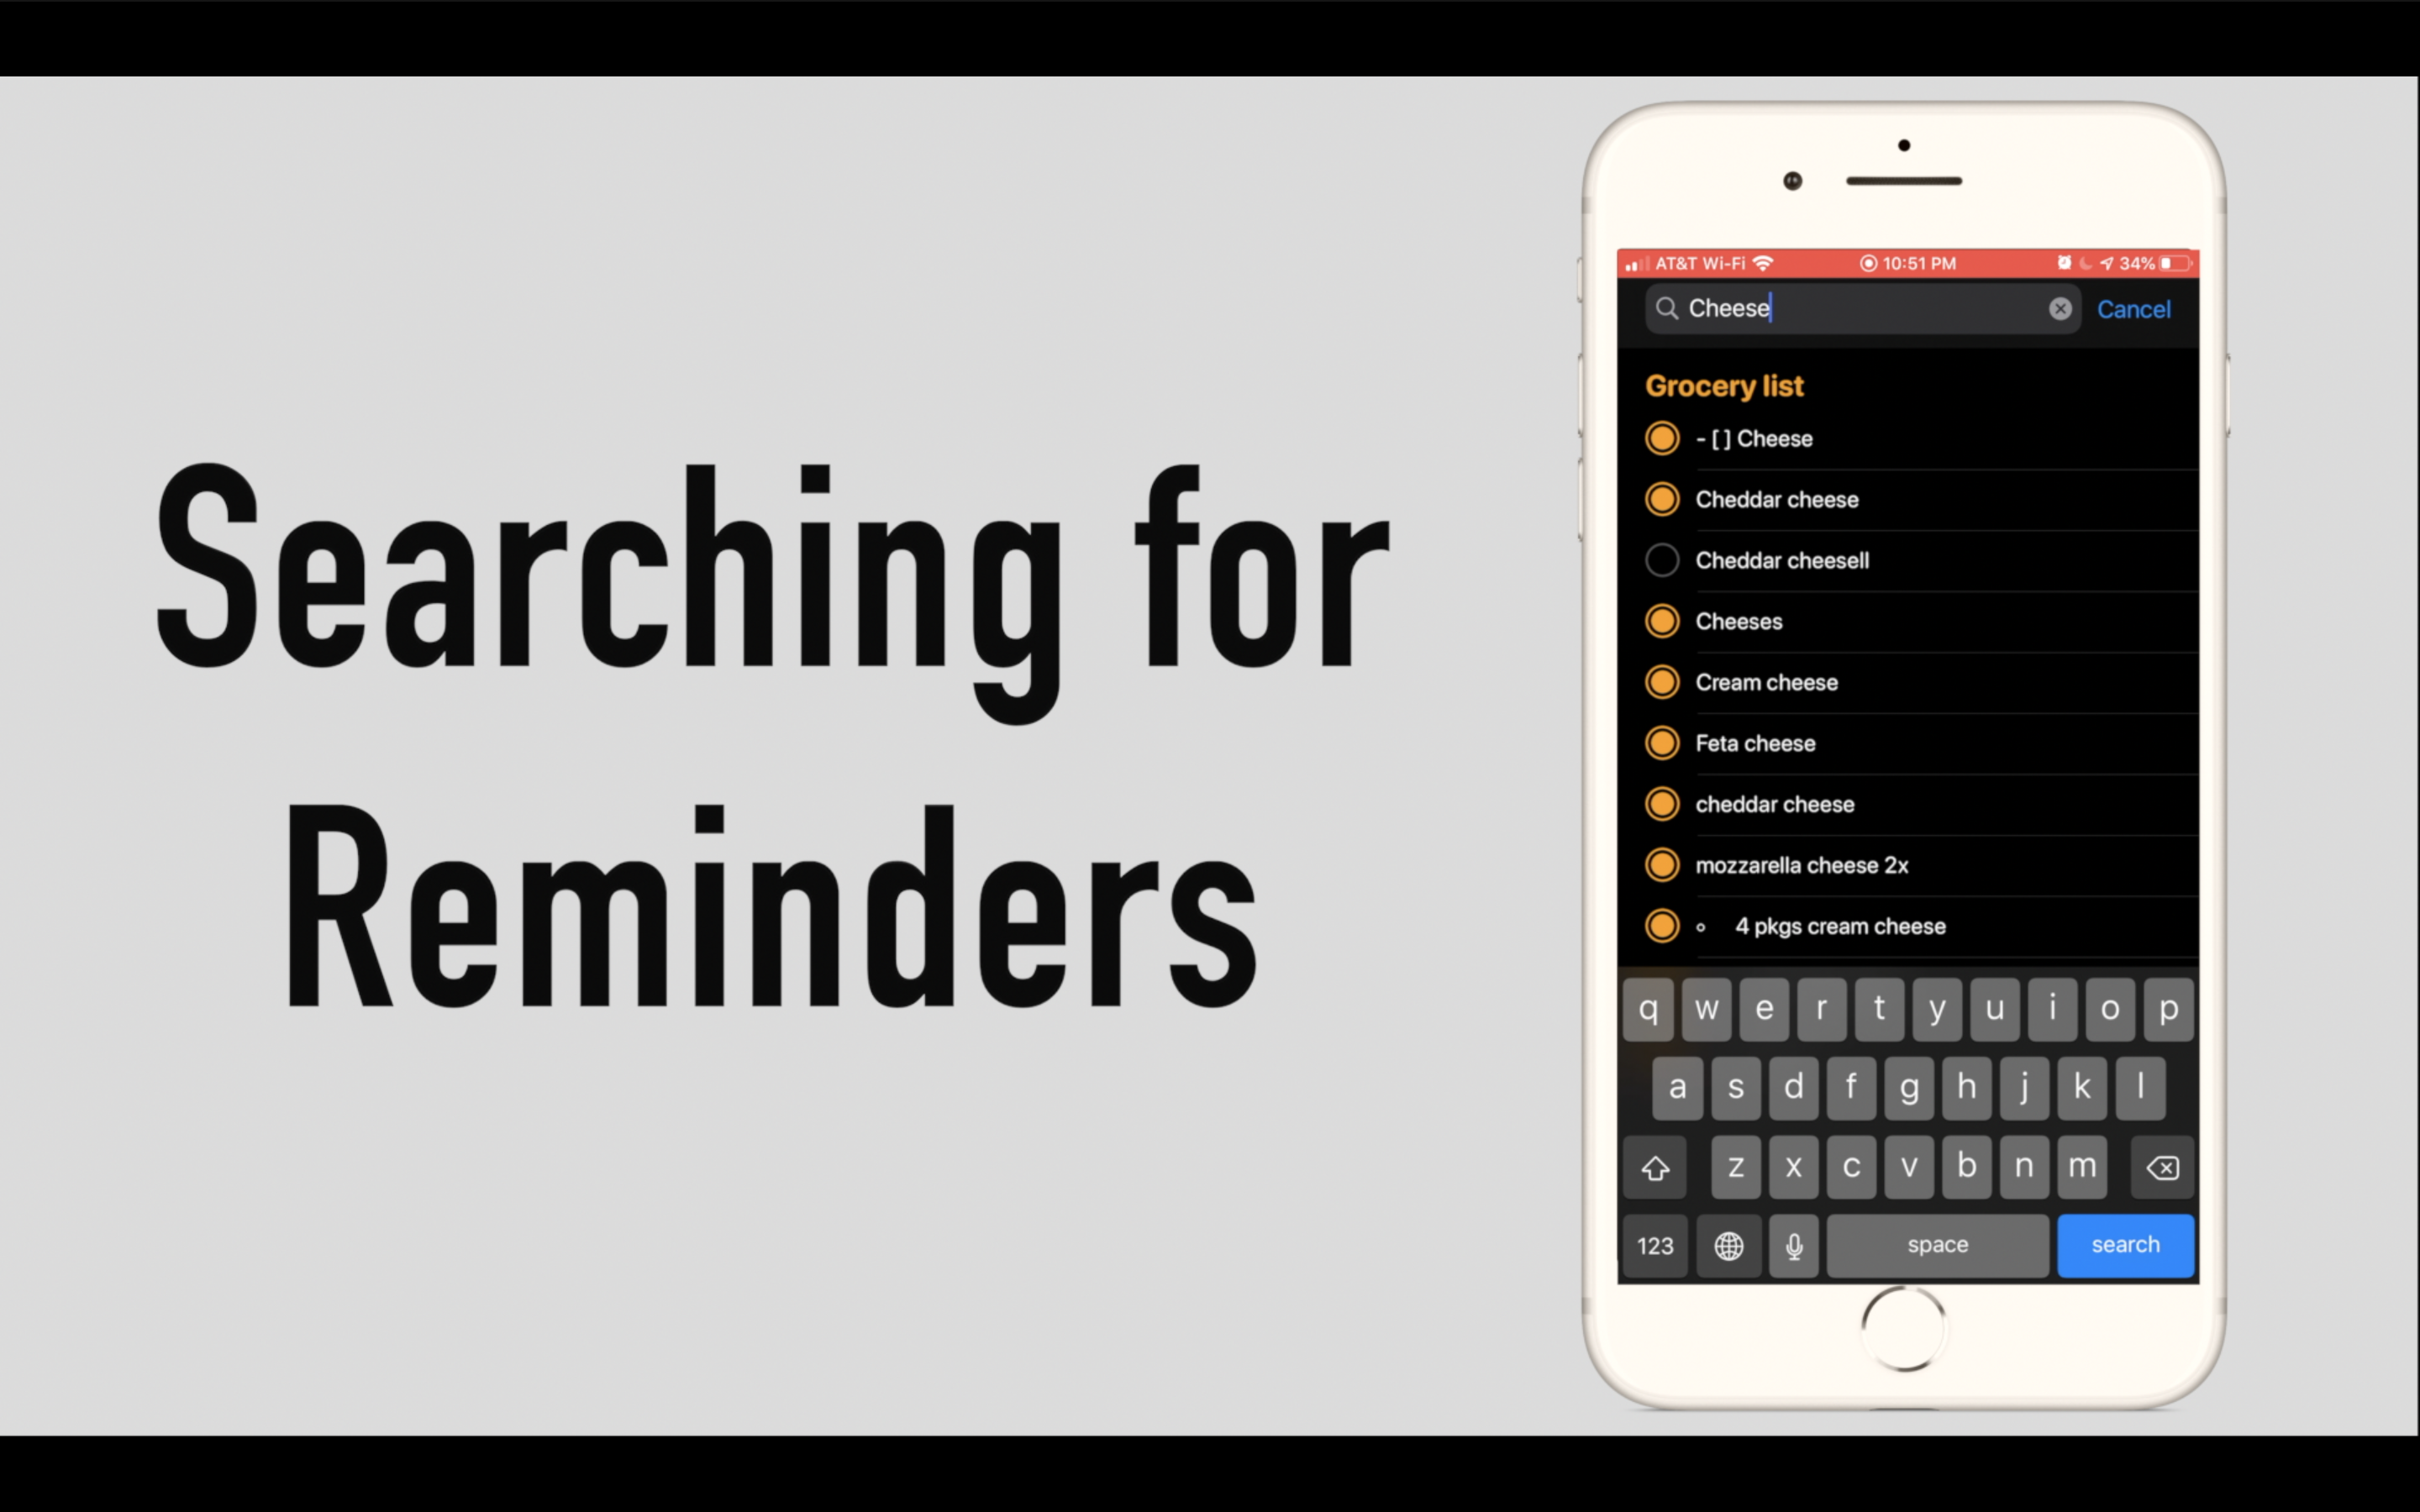
If you have a lot of reminders, then the search function may be helpful. If you scroll down a search bar will appear for you to search for a list or individual reminders.
Further Settings
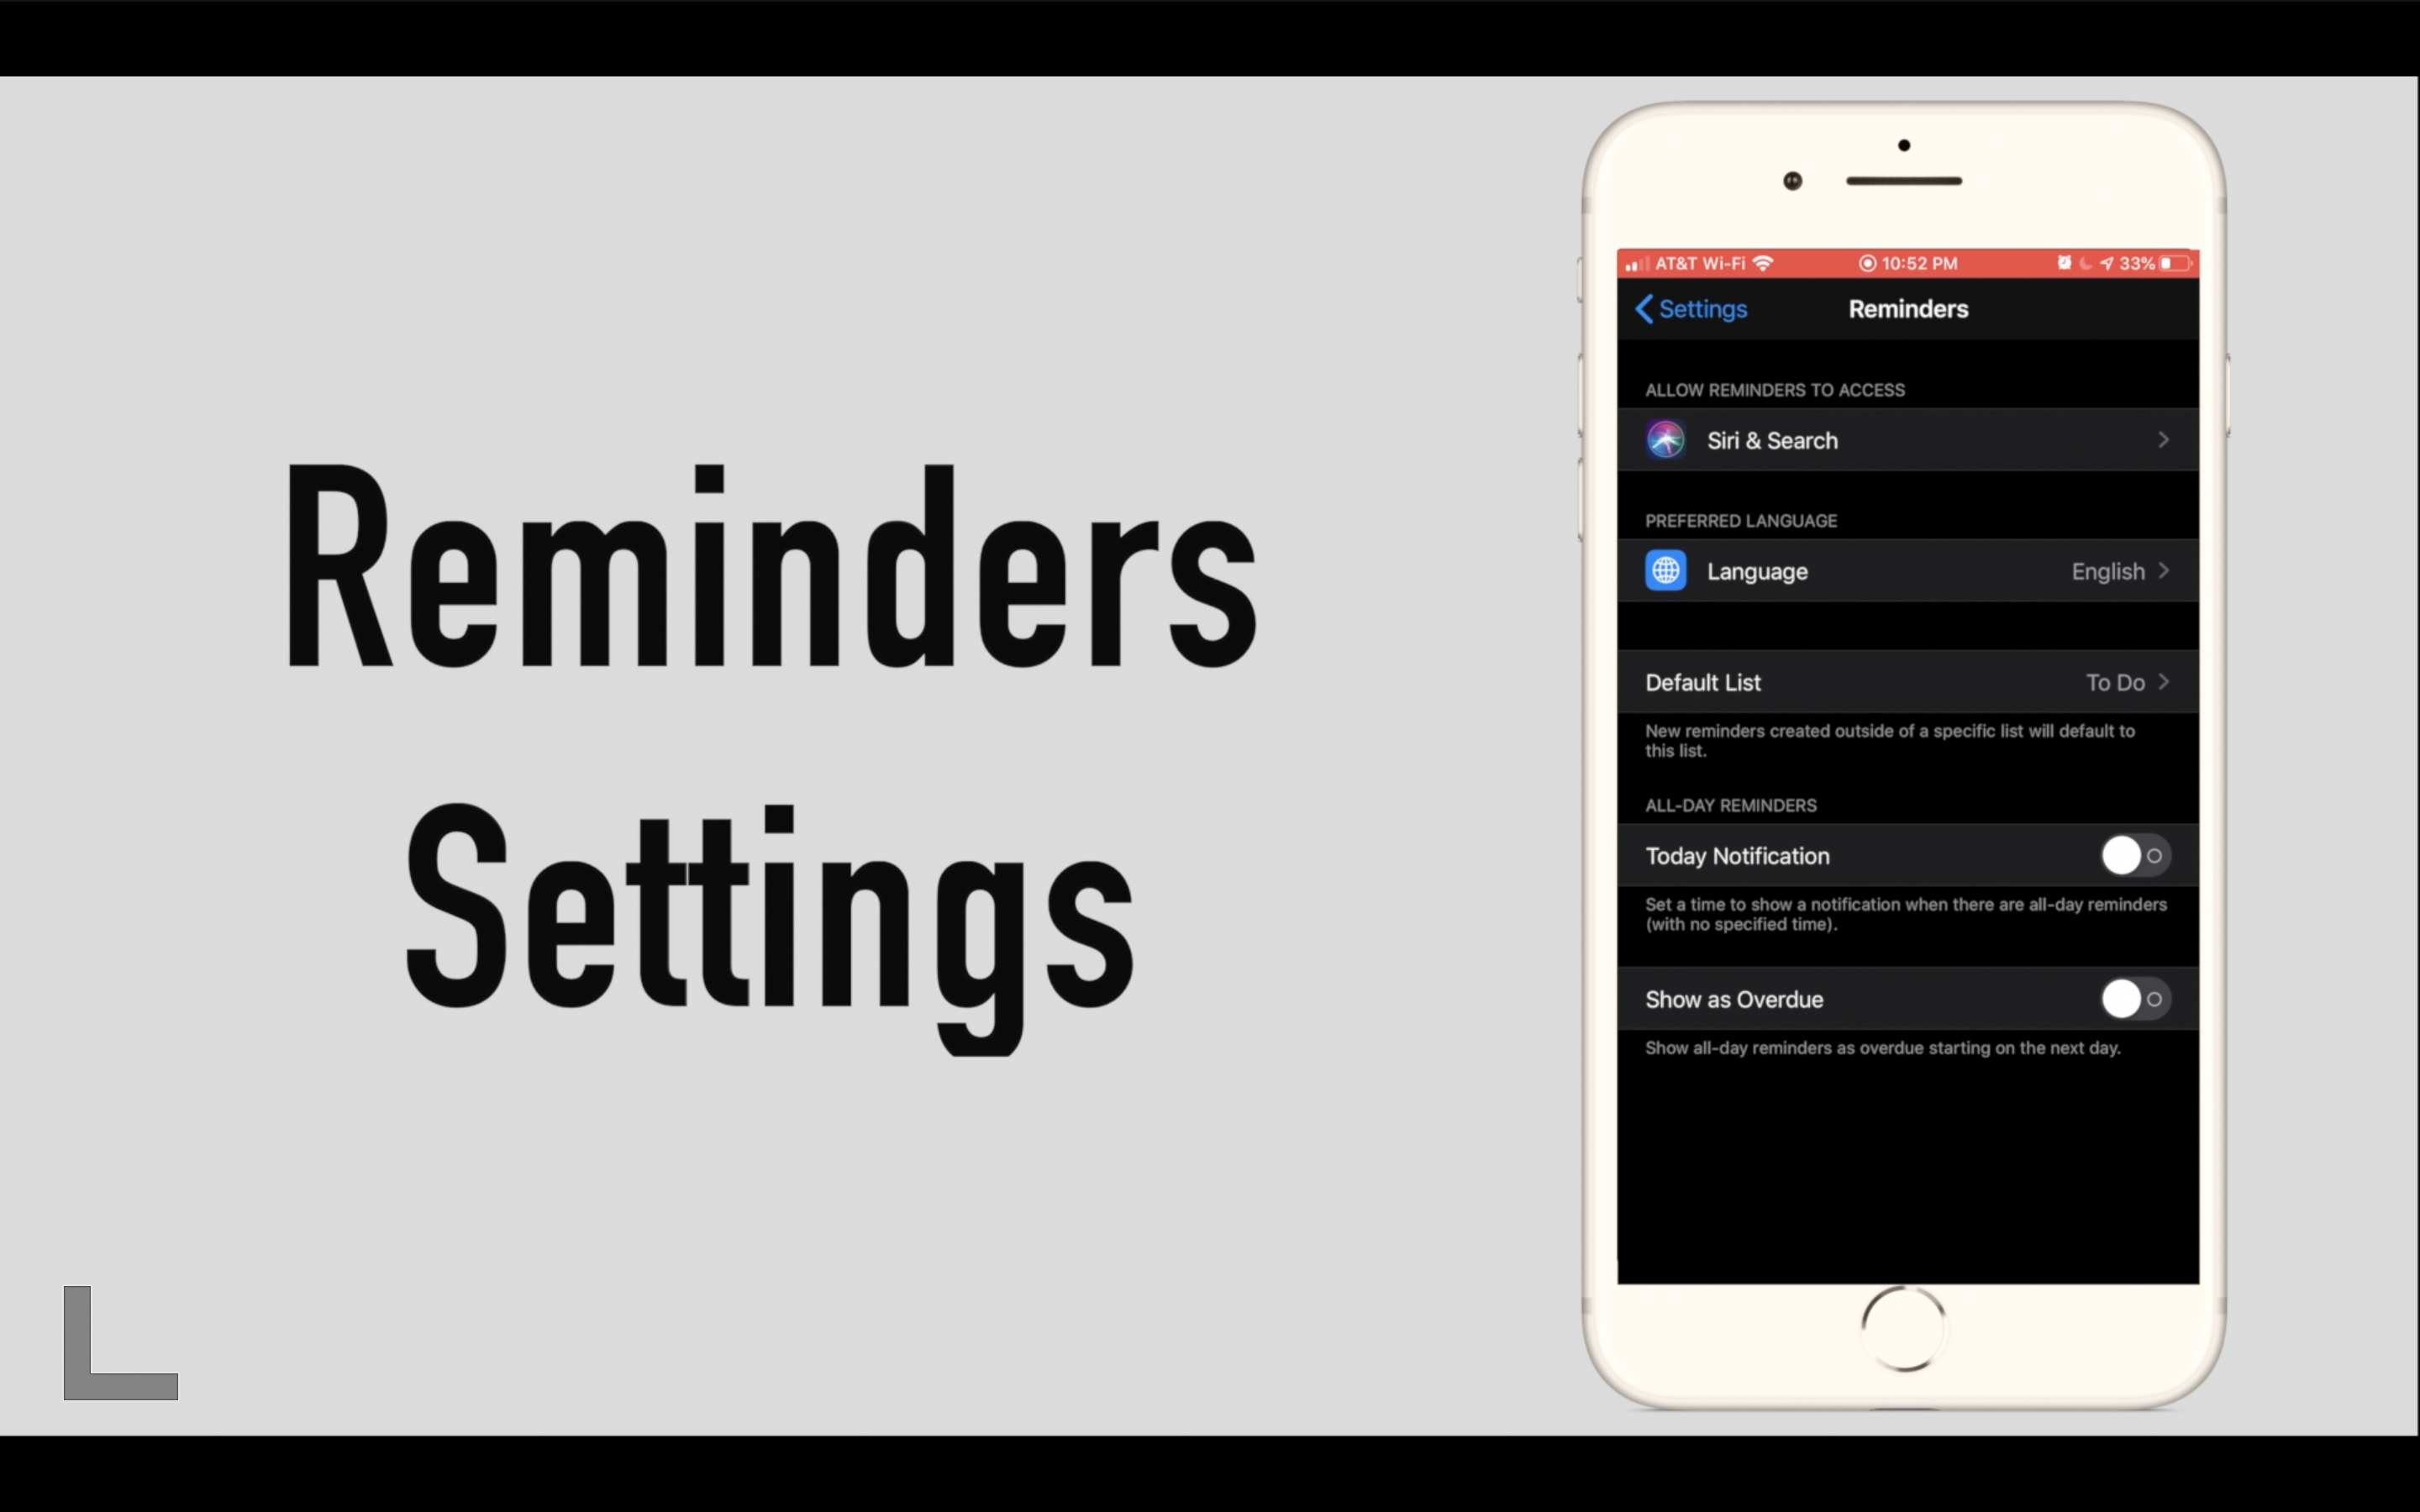
Settings for the Reminders app can be found in the system settings app by closing Reminders and opening Settings>Reminders. Here you can set the default list. This is the list that Siri will automatically add reminders to when you request her to do so. If you set a reminder for a specific day with no time but still want to receive notifications at a default time, then enable “Today Notification” and underneath set the time that you want to receive a notification for those reminders. Lastly “Show as Overdue” will highlight reminders if they were not marked as completed on the day they were supposed to.
That’s Reminders, the app for creating to-do list and great for shopping lists.
Helpful Links
- AppleGuideWeb: iOS 13
- WWDC 2019 Stream
- Apple Newsroom: Apple Previews iOS 13
- Apple.com: iOS 13 Overview
- Apple.com: iOS 13 All Features
Subscribe: Apple Podcasts | Google Podcasts | Spotify | Amazon Music | Android | Pandora | Blubrry | Email | TuneIn | RSS | More